SDK浏览器
This article contains a brief description of UNIGINE SDK Browser features:本文包含UNIGINE SDK浏览器功能的简要说明:
- Integration with developer.unigine.com accounts与developer.unigine.com帐户集成
- Convenient downloading, installation and upgrade of multiple UNIGINE SDKs方便地下载,安装和升级多个UNIGINE SDK
- Quick creation of projects with customizable settings使用可自定义的设置快速创建项目
- Browsing through various samples: UnigineScript, C++ API, C# API, 3rd party浏览各种示例:UnigineScript,C ++ API,C#API,第三方
- Downloading content on demand按需下载内容
- Self-update via Internet通过互联网自我更新
- Easy access to UNIGINE Add-Ons library轻松访问UNIGINE附加组件库
The following video provides the overview of the SDK Browser interface:以下视频概述了SDK浏览器界面:
The information on the browser downloading and installing can be found here.在此处可以找到有关浏览器下载和安装的信息。
The information on licensing is available in the Licenses article.许可文章中提供了有关许可的信息。
sudo paxctl -m browser_x64.linuxFor more detailed information on MPROTECT you can click here. 如果安装了Astra Linux Special Edition 1.5 / 1.6和PaX,则SDK浏览器可能无法正确启动。作为一种解决方法,您可以按如下所示为browser.linux二进制文件禁用MPROTECT:
sudo paxctl -m browser_x64.linux有关 MPROTECT 的更多详细信息,您可以单击此处。
Signing In登录中#
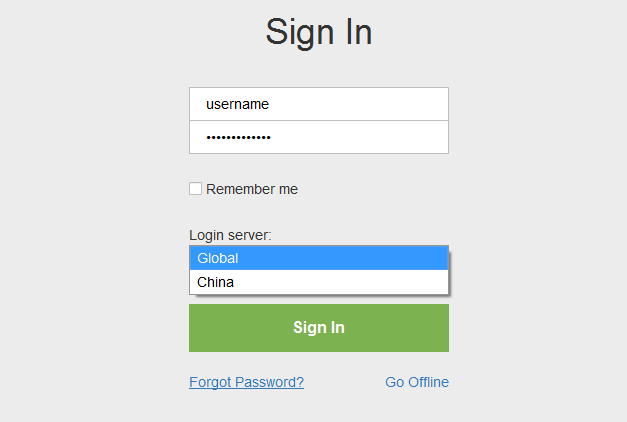
Once the browser is installed on the computer, choose server location (Global or China) and log in with your account credentials.在计算机上安装浏览器后,选择服务器位置(Global或China)并使用您的帐户凭据登录。
Options选件#
It is possible to set the general startup settings for all projects, samples, and demos run via SDK Browser.可以为通过SDK浏览器运行的所有项目,示例和演示设置常规启动设置。
To open the Options form, click the following tab in SDK Browser: 要打开Options表单,请在SDK浏览器中单击以下标签:

The form will open:表格将打开:

| Storage Path | A path to a folder where downloaded SDKs, add-ons and demos will be stored.文件夹的路径,其中将存储下载的SDK,附加组件和演示。 |
|---|---|
| Show Welcome Screen | Show the welcome screen on SDK Browser startup.在SDK浏览器启动时显示欢迎屏幕。 |
| Qt Path | Path to Qt libraries. This path is used to run projects created by using QMake via UNIGINE SDK Browser.
注意
This option is available on Windows only.Qt库的路径。 此路径用于运行通过UNIGINE SDK浏览器使用QMake创建的项目。
This option is available on Windows only.This option is available on Windows only. 注意
This option is available on Windows only.此选项仅在Windows上可用。 |
| API | Graphics API to be used for rendering. The following values are available:
|
| Resolution | Window resolution.窗口分辨率。 |
| Fullscreen | Fullscreen mode.全屏模式。 |
| Video Debug | Debug context for OpenGL or DirectX 11.OpenGL或DirectX 11的调试上下文。 |
| Monitors | Display configuration (for single- or multi-monitor rendering).显示配置(用于单显示器或多显示器渲染)。 |
| Stereo 3D | Stereo mode.
注意
Depending on the graphics API used for rendering, the set of available modes varies.立体声模式。
Depending on the graphics API used for rendering, the set of available modes varies.Depending on the graphics API used for rendering, the set of available modes varies. 注意
Depending on the graphics API used for rendering, the set of available modes varies.根据用于渲染的图形API,可用模式集会有所不同。 |
Products产品展示#
To start working, you should have a Product installed. In the Products tab, you can install a new version of a Product or add an already installed one.要开始工作,您应该已安装产品。在Products标签中,您可以安装产品的新版本或添加已经安装的产品。

- To install a new Product:
- Specify the Product type in the Edition field (Community, Engineering, Sim or Editor) in the Products tab.Specify the Product type in the Edition field (Community, Engineering, Sim or Editor) in the Products tab.
- Specify the Product version in the Version field.Specify the Product version in the Version field.
- Click Install. The installation progress will be shown under the menu on the left. The installed Product will appear in the Products list.Click Install. The installation progress will be shown under the menu on the left. The installed Product will appear in the Products list.
Specify the Product type in the Edition field (Community, Engineering, Sim or Editor) in the Products tab.Specify the Product version in the Version field.Click Install. The installation progress will be shown under the menu on the left. The installed Product will appear in the Products list.要安装新产品: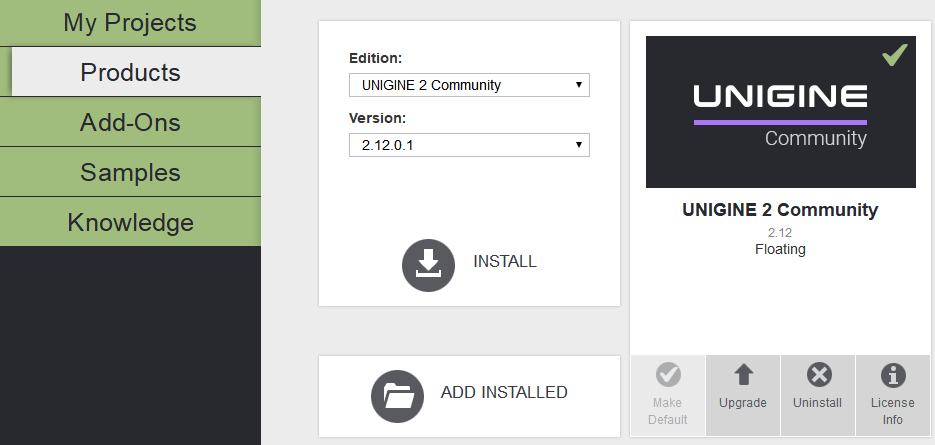
- Specify the Product type in the Edition field (Community, Engineering, Sim or Editor) in the Products tab.在Edition field (Community, Engineering, Sim要么Community, Engineering, Sim或Products tab.
- Specify the Product version in the Version field.在Version字段中指定产品版本。
- Click Install. The installation progress will be shown under the menu on the left. The installed Product will appear in the Products list.单击Install。安装进度将显示在左侧菜单下。安装的产品将出现在“产品”列表中。

- To add an already installed Product:
- Click Add Installed in the Products tab.Click Add Installed in the Products tab.
- Specify the path to the root folder of the required Product. It will appear in the My Projects list.
注意Only Products containing the manifest file (present from the 04/23/2015) are available for adding.Specify the path to the root folder of the required Product. It will appear in the My Projects list.Only Products containing the manifest file (present from the 04/23/2015) are available for adding.Only Products containing the manifest file (present from the 04/23/2015) are available for adding.注意Only Products containing the manifest file (present from the 04/23/2015) are available for adding.Only Products containing the manifest file (present from the 04/23/2015) are available for adding.
注意Only Products containing the manifest file (present from the 04/23/2015) are available for adding.添加已安装的产品:Only Products containing the manifest file (present from the 04/23/2015) are available for adding.Only Products containing the manifest file (present from the 04/23/2015) are available for adding.- Click Add Installed in the Products tab.单击Products选项卡中的Add Installed。
- Specify the path to the root folder of the required Product. It will appear in the My Projects list.
注意Only Products containing the manifest file (present from the 04/23/2015) are available for adding.指定所需产品的根文件夹的路径。它将出现在“我的项目”列表中。Only Products containing the manifest file (present from the 04/23/2015) are available for adding.Only Products containing the manifest file (present from the 04/23/2015) are available for adding.注意Only Products containing the manifest file (present from the 04/23/2015) are available for adding.仅包含manifest文件(从04/23/2015开始)的产品可用于添加。
Once the Product is installed, you can:安装产品后,您可以:
- Create a new project in the My Projects tab.在My Projects选项卡中创建一个新项目。
- Create a project with installed add-ons in the My Projects tab.在My Projects选项卡中创建一个带有已安装加载项的项目。
- Run built-in demos or samples (UnigineScript, C++ API, C# API, 3rd party).运行内置的演示或示例( UnigineScript ,C ++ API,C#API,第三方)。
My Projects我的专案#

A project is an independent entity that contains all data on your application content organized in a set of directories.项目是一个独立的实体,包含以一组目录组织的有关您的应用程序内容的所有数据。
There are several ways of working with projects:项目有几种处理方式:
- Create a new project (you should have an SDK installed).创建一个新项目(您应该已安装SDK)。
- Create a project with add-ons (you should have an SDK and add-ons installed).使用附件创建一个项目(您应该已安装SDK和附件)。
- Add an existing project from your local drive (after that, it will be easily accessible from here for editing, upgrade, or other actions).从本地驱动器添加一个现有项目(此后,可以从此处轻松地进行访问以进行编辑,升级或其他操作)。
Add-Ons附加组件#
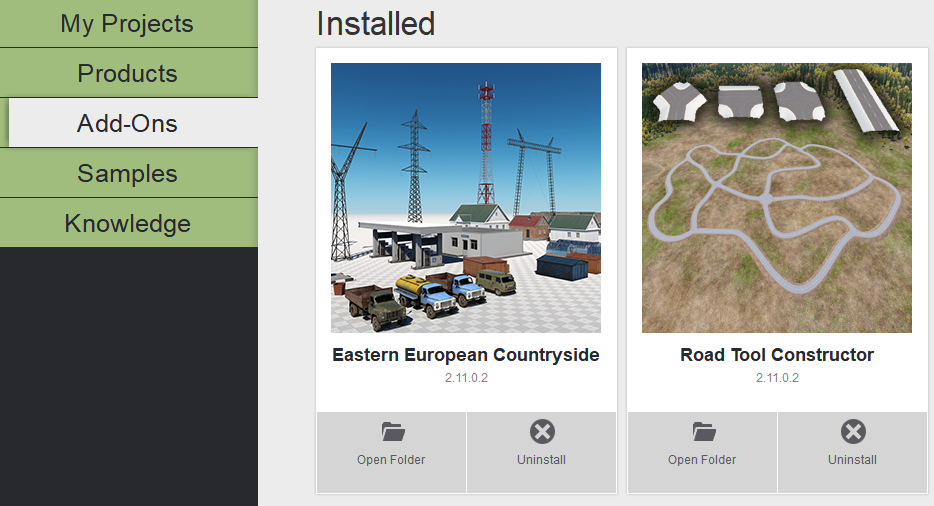
Add-On is the plugged functionality extension that can be presented as any engine addition: plugin, library, material, etc.加载项是可以作为任何引擎添加项显示的插件功能扩展:插件,库,材料等。
See how to create a project with an add-on here.在此处查看如何使用附件创建项目。。
The full list of add-ons and their usage is available here.附加组件及其用法的完整列表可在这里获得。
Samples样品#

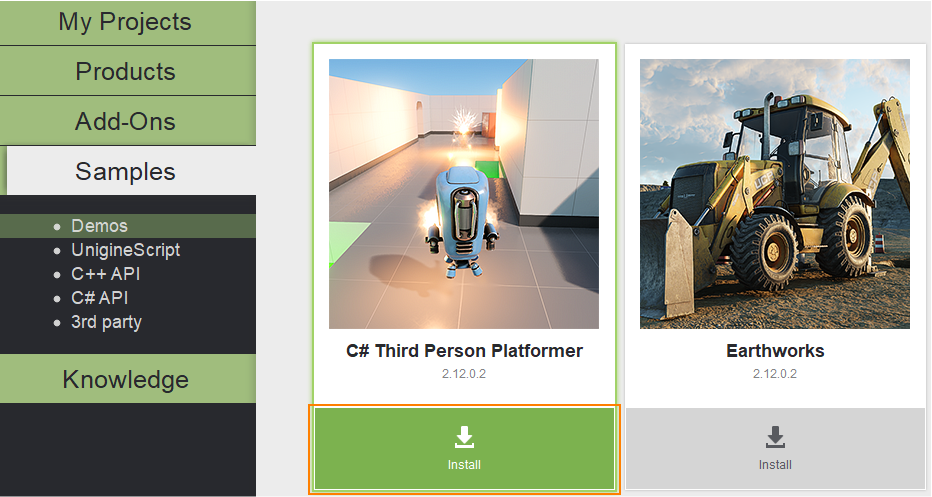
The following samples can be found in the Samples tab:在Samples标签中可以找到以下示例:
- Demos — a set of UNIGINE demos and benchmarks that can be converted to a project in order to be modifiedDemos —一组UNIGINE演示和基准,可以将其转换为项目以进行修改
- UnigineScript — a set of UnigineScript demosUnigineScript —一组UnigineScript演示
- C++ API — a set of C++ API demosC++ API —一组C ++ API演示
- C# API — a set of C# demosC# API —一组C#演示
- 3rd party — a set of demos demonstrating UNIGINE integration with applications based on 3rd party technologies.3rd party —一组演示,演示了UNIGINE与基于第三方技术的应用程序的集成。
To download any Demo, click Install under a project in the Demos section of the Samples tab.要下载任何演示,请在Samples选项卡的Demos部分的项目下单击Install。
Knowledge知识#
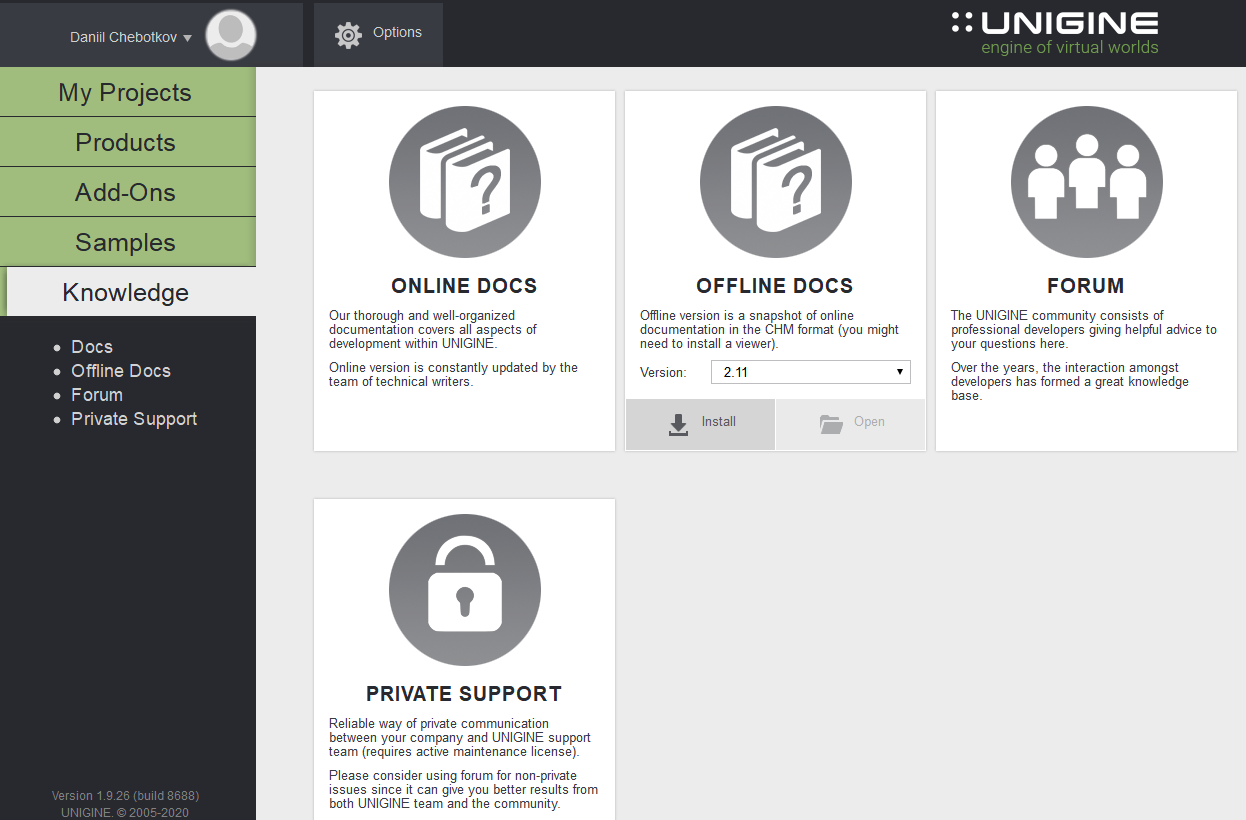
Access to online and offline documentation, Unigine community forum and private support.访问在线和离线文档,Unigine社区论坛和私人支持。
