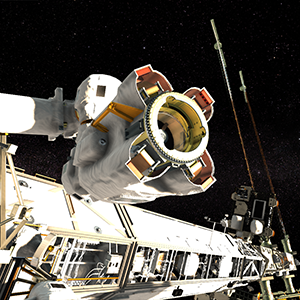
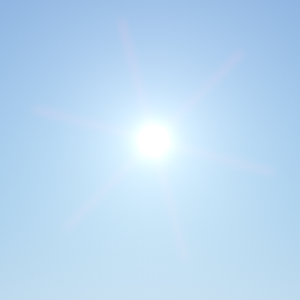
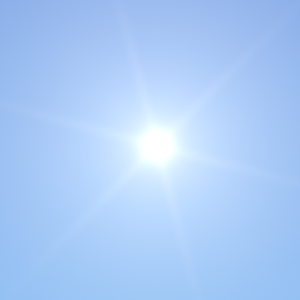
Camera Effects
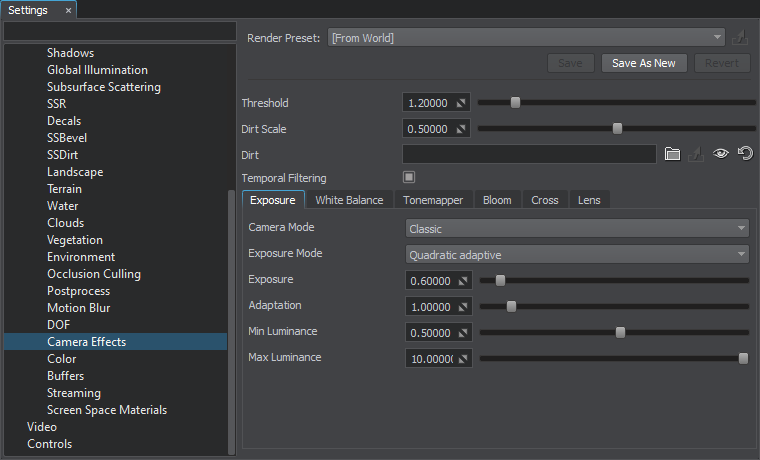
A camera effects list contains features specific to the usual SLR camera. To tweak, use Rendering panel -> Camera Effects.
Common#
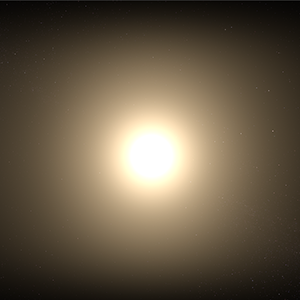
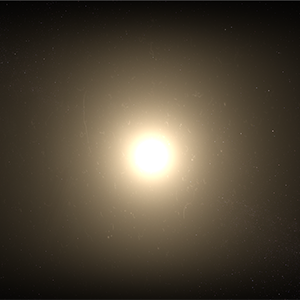
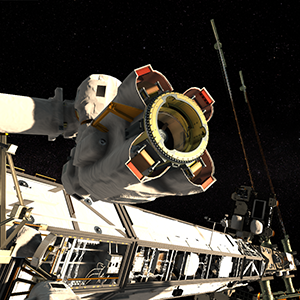
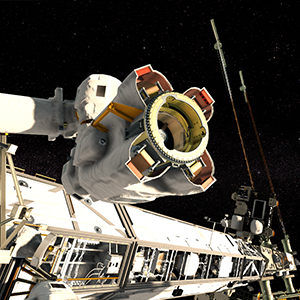
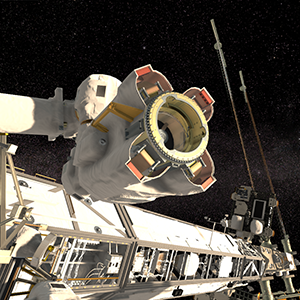
| Threshold | Brightness threshold used to determine areas to be illuminated:
|
||
|---|---|---|---|
| Dirt Scale | Intensity of the dirt texture. | ||
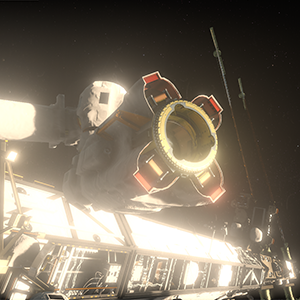
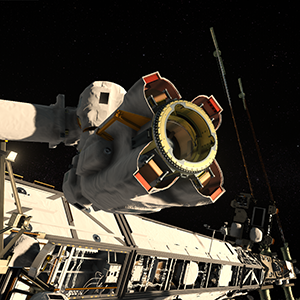
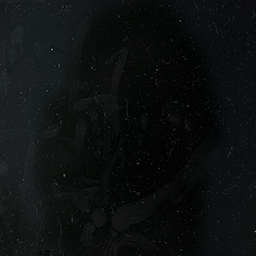
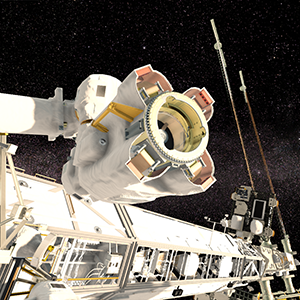
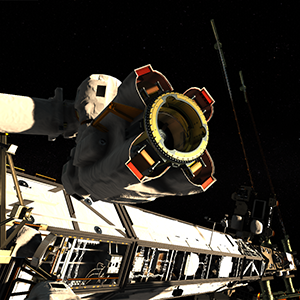
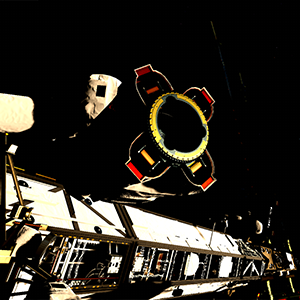
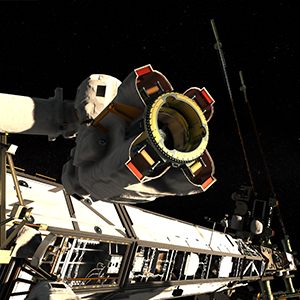
| Dirt | A texture that creates an effect of dirty camera lens. For example, it can be used to create an effect of light reflections or unclean optics when the camera looks at the sun.
Example of dirt texture
Notice
If you can't see the dirt texture, try tweaking the Threshold parameter. |
||
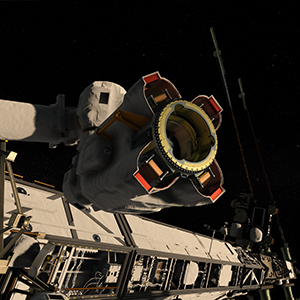
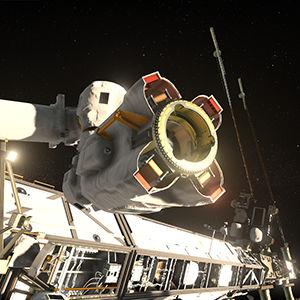
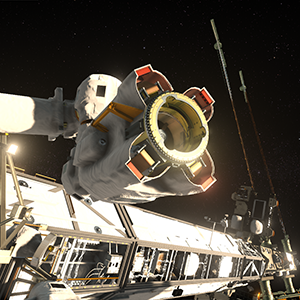
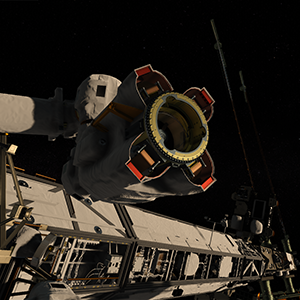
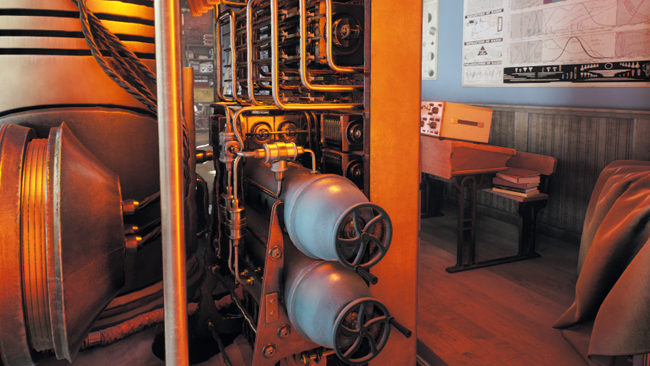
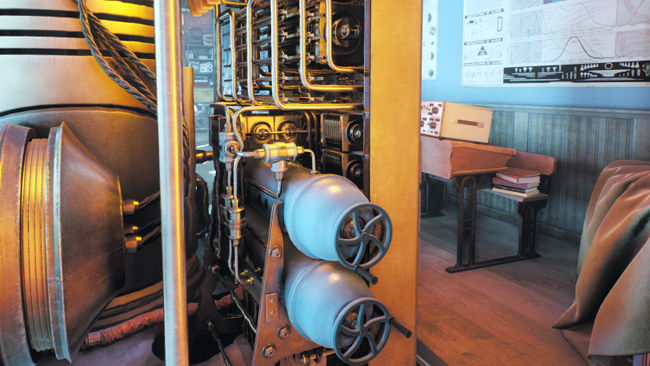
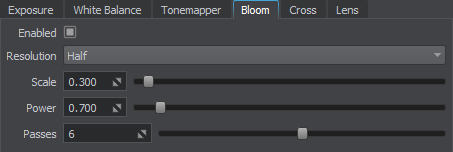
| Temporal Filtering | Reduces flickering of the bloom effect on the small bright objects (such flickering may appear when the camera moves). For example, it can be used in scenes with industrial pipes. |
Exposure#
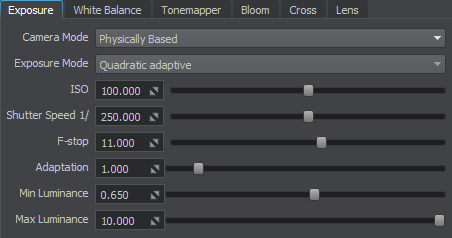
| Camera Mode | Camera mode, determines the way the exposure is set:
Notice
Can be controlled via the render_camera_mode console command. |
||
|---|---|---|---|
| Exposure Mode | Exposure mode:
Notice
Can be controlled via the render_exposure_mode console command. |
||
| Exposure | Camera exposure. It determines the resulting amount of luminance:
Notice
This parameter is available only when the Camera Mode is set to Classic.
Notice
Can be controlled via the render_exposure console command. |
||
| ISO | ISO number represents the sensitivity of the camera sensor. The higher the ISO number, the more light is collected and the brighter the image is.
Notice
|
||
| Shutter Speed | Shutter speed indicates how long the sensor of the camera is actively collecting light. Higher values make the shutter speed faster and the image — darker.
Notice
|
||
| F-Stop | Ratio of the focal length (f) and the diameter of the lens opening (D): f / D. It is the reciprocal of the relative aperture. The higher the value, the darker the image is.
Notice
|
||
| Adaptation | Time in seconds for the camera to adjust exposure (0 for instant adaptation). | ||
| Min Luminance | The minimum luminance offset relative to the default luminance of the scene used for rendering of the adaptive exposure effect. The higher the value, the darker the adapted image is. The parameter can take on negative values. Notice
If the specified value is greater than the current maximum luminance, the maximum luminance value will be changed to the specified minimum luminance so that they are equal.
|
||
| Max Luminance | The maximum luminance offset relative to the default luminance of the scene used for rendering of adaptive exposure effect. The lower the value, the brighter the adapted image is. The parameter can take on negative values. Notice
If the specified value is less than the current minimum luminance, the minimum luminance value is changed to the specified maximum luminance so that they are equal. |
White Balance#
White balance correction eliminates the discoloration in the final image due to certain colors in the scene having more intensity and/or a higher or lower color temperature. Adaptive automatic white balance correction ensures realistic coloration of your scenes in real-time mode.

| Enabled | Toggles automatic white balance correction on and off.
|
|---|---|
| Intensity | Intensity of white balance correction. Notice Do not set too high values for night-time and dimly lit scenes, as it may lead to heavy color distortion making the scene look totally unnatural. |
| Adaptation Time | Time period in seconds, during which white balance correction is performed (0 for instant correction). Notice It is recommended to use lower values, when possible, to make correction process unnoticeable, otherwise it'll be slow and noticeable. However, setting too low values may result in abrupt switching of colors as the camera moves. So, adjust this parameter carefully to make transition smooth. You can set it equal to the Exposure Adaptation value. |
Tonemapper#
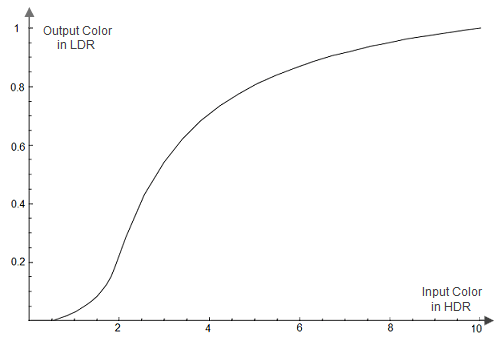
The filmic tone mapping provides better image quality. It lightens the darkest image regions and makes the lightest regions darker.
All parameters described below represent the tone mapping curve, which is constructed by using the following formula:

- A — Shoulder Scale
- B — Linear Scale
- C — Linear Angle
- D — Toe Scale
- E — Toe Numerator
- F — Toe Denominator
For more details about tone mapping curve construction see the article on An efficient and user-friendly tone mapping operator.
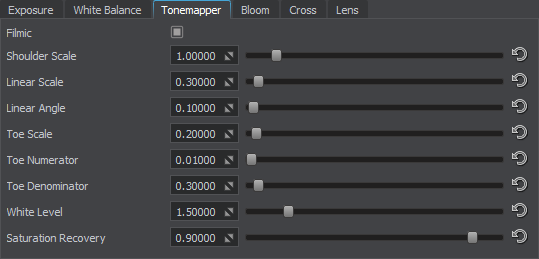
| Filmic | Toggles filmic tone mapping on and off. | ||
|---|---|---|---|
| Shoulder Scale | The Shoulder Strength filmic tone mapping parameter value that is used to change bright values.
|
||
| Linear Scale | The Linear Strength filmic tone mapping parameter value that is used to change grey values. Linear Scale controls the length of the tone mapping curve linear part.
|
||
| Linear Angle | The Linear Angle filmic tone mapping parameter value. Controls the slope of the linear part of the tone mapping curve.
|
||
| Toe Scale | The Toe Strength filmic tone mapping parameter value that is used to change dark values. Controls the slope of the tone mapping curve toe (the area of underexposure).
|
||
| Toe Numerator | The Toe Numerator filmic tone mapping parameter value.
|
||
| Toe Denominator | The Toe Denominator filmic tone mapping parameter value.
|
||
| White Level | The Linear White Point filmic tone mapping parameter value, which is mapped as pure white in the resulting image.
|
||
| Saturation Recovery | Color saturation recovery value in the [0.0f, 1.0f] range. Filmic tonemapper desaturates image colors in bright areas making them look grayish. This parameter enables you to recover initial color saturation in such areas.
Notice
When the 1.0f value is set specular highlights appear too saturated, so the recommended value is 0.75f (default). |
Bloom#
Cross#
Lens#
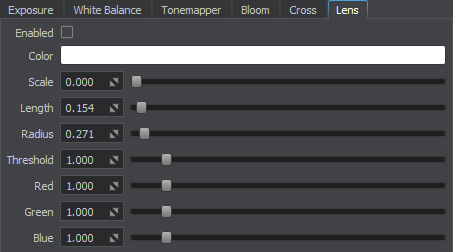
| Enabled | Toggles lens flares rendering on and off. | ||||
|---|---|---|---|---|---|
| Color | Color of lens flares.
|
||||
| Scale | Multiplier for a color of lens flares.
|
||||
| Length | Length indicating if the whole radial lens flare is rendered on the screen or only a part of it. This option controls how lens flares pattern is distributed. | ||||
| Radius | Radius of the spherical lens flares on the screen.
|
||||
| Threshold | The brightness threshold for areas to produce flare. The higher the threshold value, the brighter the area should be to produce flare. | ||||
| Red | Color displacement for the red channel of lens flares.
|
||||
| Green | Color displacement for the green channel of lens flares.
|
||||
| Blue | Color displacement for the blue channel of lens flares.
|
