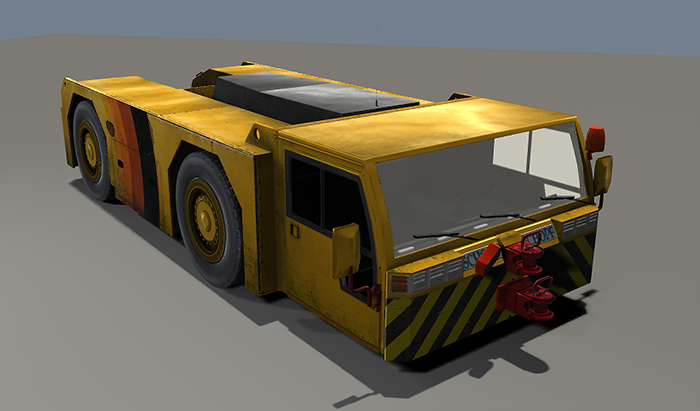
Adding Object into the World
Starting to work with the Unigine engine is easy. This tutorial will help you to find out how to create a simple static scene: export an object from the third-party application, add it into the world of the Unigine-powered project, create the material library with materials and assign materials to the mesh.
Requirements
It is supposed that you already have:
- The Unigine plugins for 3D editors installed.
- An animated 3D model ready to be exported and necessary textures.
- A project created via Unigine SDK Browser.
Step 1. Prepare a Model for Export
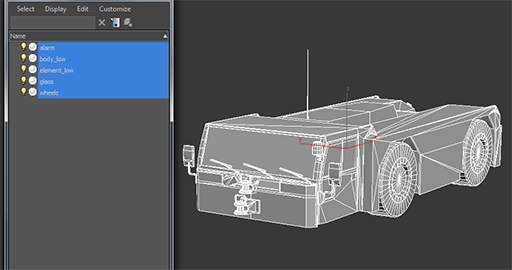
- Open the model in 3ds Max or Maya and move the model close to zero as possible. Otherwise, you may encounter accuracy problems after exporting.
- Save your textures for the model in an appropriate format. Unigine engine supports the following formats of textures:
- Targa (TGA)
- Portable Network Graphics (PNG)
- JPEG (JPG)
- PhotoShop Document (PSD)
- Direct Draw Surface (DDS)
- Tagged Image File (TIF)
- Portable Pixmap (PPM)
- Portable Graymap (PGM)
- High Dynamic Range Image (HDR)
- Silicon Graphics Image (SGI)
- RGB file (RGB)
- RGB file with alpha (RGBA)
NoticePSD and DDS textures can be of either of 8-bit or 16-bit precision. - Make sure that either dimension of any texture is a power of 2 (for example, 32×32, 64×64 and so on). Textures of the improper size produce mipmap artifacts.
We recommend you to save your source uncompressed textures into the data/<project_name>/textures/uncompressed folder. They will be automatically compressed to the DDS format and placed in the data/<project_name>/textures folder when you assign them to the mesh.
- Diffuse / Albedo - "_d"
- Normal - "_n"
- Specular / Metalness - "_s"
- Emission - "_e"
Step 2. Export a Model
- Select the mesh. All the selected objects will constitute one mesh with different surfaces. The surfaces will be automatically named after objects in 3ds Max. Each object will be a separate surface of the exported mesh.
- Go to Utilities panel (click
 on the right-hand column) and click More....
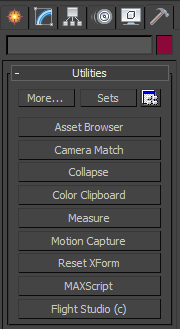
- Choose UnigineMesh Utility in the list that appears and click OK.
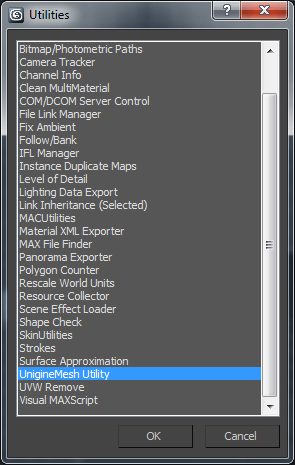
The UnigineMesh panel appears in the right-hand column.
- On the UnigineMesh panel, specify parameters to export the mesh.
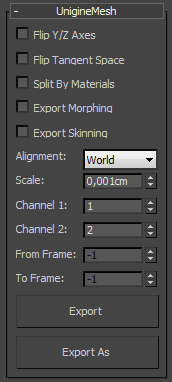
Read more about export parameters in the Plugins for 3ds Max article.
-
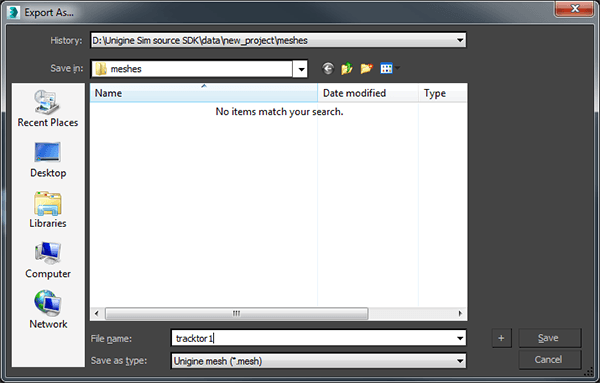
Click Export As... In the export dialog that opens, choose a folder to save the mesh and specify a name for the mesh file.
NoticeWe recommend you to save the exported mesh into the data/<project_name>/meshes/ folder.
-
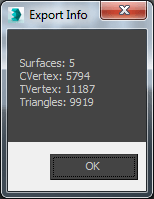
Click Save for the mesh to be exported. The window with export information opens if the export is done successfully:
Step 3. Adding a Mesh into the World
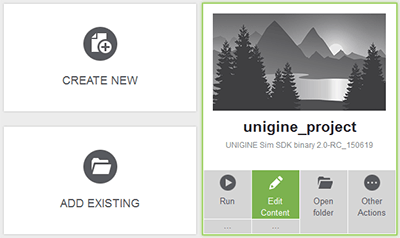
- Run the project with the loaded editor via the SDK Browser.
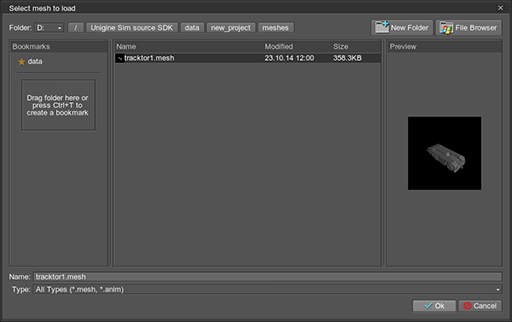
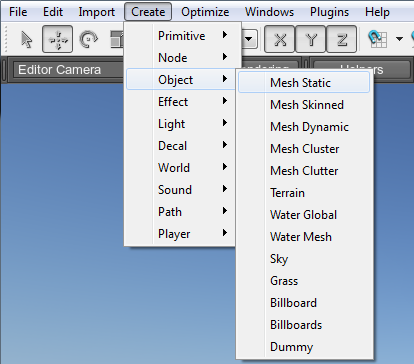
- On the Menu bar click Create and choose Object -> Mesh Static.
- In the file dialog that opens, choose the mesh file you've exported from 3ds Max.
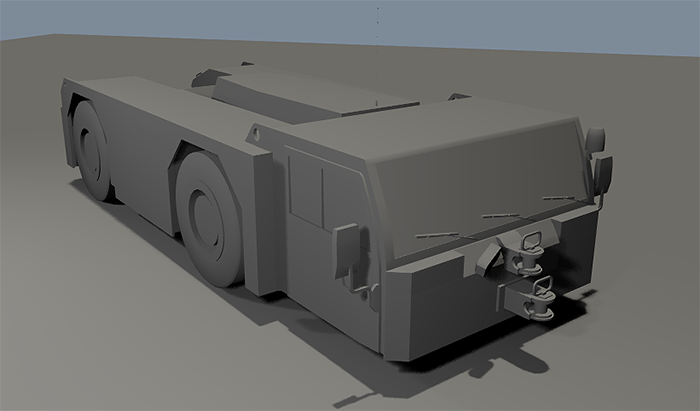
The model will appear in gray as it uses a default material mesh_base.
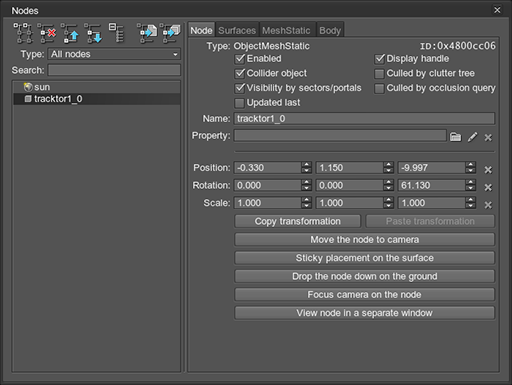
According to Virtual Worlds Structure all objects in the world appear as nodes. You can open the Nodes window (click Windows -> Nodes or press N) to see all nodes in your world:
If you choose the imported object, you can find information about it: NoticeThe node can be renamed in the Name field (Nodes -> Node)
Step 4. Assign Materials
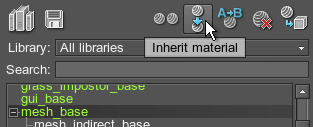
- Create a custom material for the mesh: select mesh_base (or any other basic material) in the list and click inherit the material.
NoticeThe inherited (child) material takes all properties and their values from its parent material but overrides those that should be different (like textures). If you change a setting in the parent material, child materials will be changed automatically, unless they override that setting.
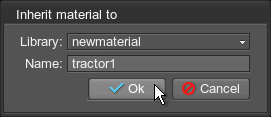
- Choose the default material library (it was created automatically and named after the project), specify the name of the new material and click Ok.
- Select the new material in the list of materials.

- Go to the States tab and set Workflow option to Metalness.
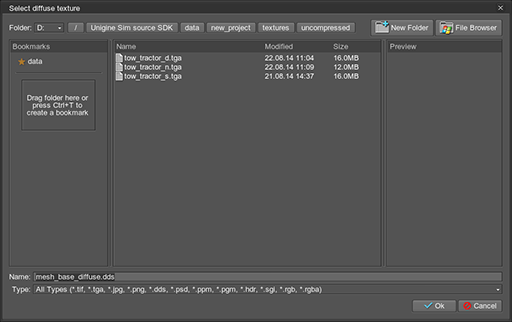
- Go to the Textures tab to load the necessary textures.
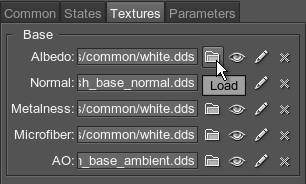
- Select the path to the textures.
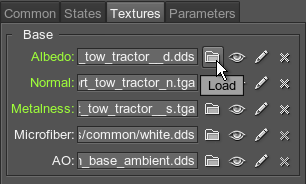
NoticeWhen you change the texture, the field name will change its color to green:The textures will be automatically compressed and placed in the data/<project_name>/textures folder if they are stored in the uncompressed folder.
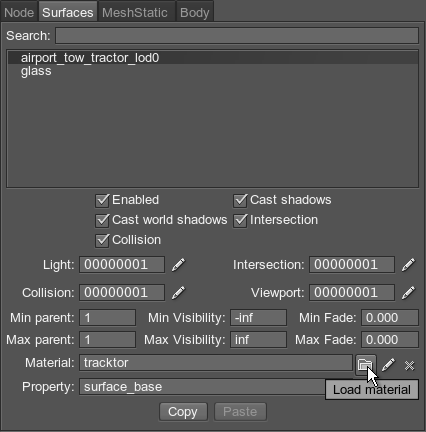
- In the hierarchy list of Nodes panel (Windows -> Nodes or N) select a target node. Open the Surfaces tab and select the surfaces to which the created material should be assigned.
Materials can be assigned in two ways:
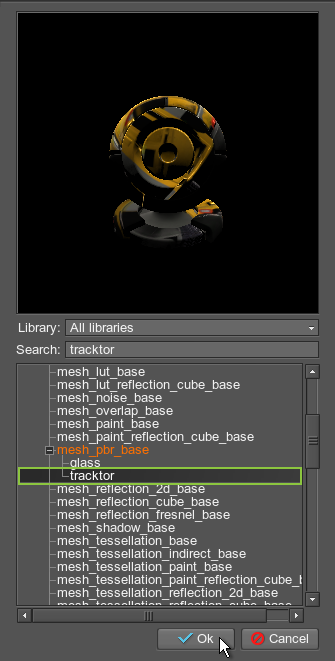
- You can assign materials on Surface tab of the Nodes panel by choosing the target surface (or surfaces) and click Load material:
And select the material in the list.
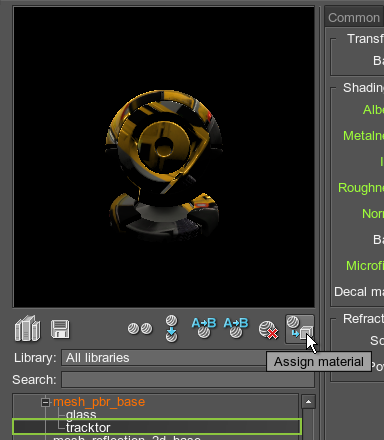
- You can assign material in Materials panel (Windows -> Materials or press M) by pressing the Assign material button. The material will be assigned to the currently selected surface of the node that is chosen in the hierarchy list on the Nodes panel).
- You can assign materials on Surface tab of the Nodes panel by choosing the target surface (or surfaces) and click Load material:
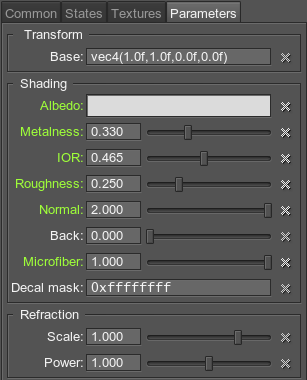
- After the material has been assigned, go to the Parameters tab of the material and specify options to make the material more plausible.
Creating a Glass Material
Since we exported from 3Ds Max a mesh with body shell object and glass object, we need to create another material of glass. Textures are not necessary for glass material.
To create a glass material do the following:
- Create another material and specify the name of it.
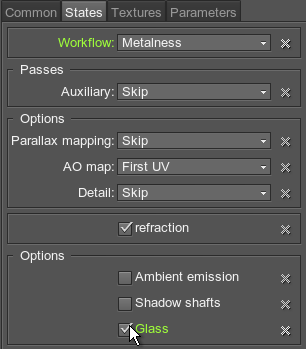
- Enable the Glass option on the States tab of the material.
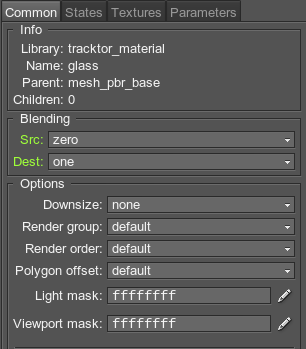
- Go to the Common tab of the created material and specify the following values:
- Set the source of blending to zero.
- Set the destination of blending to one.
Step 5. Save the World
After finishing the work, save the world: click File -> Save world on the Menu bar or press CTRL + S.
