Color
This tab contains settings for color correction of the scene.

| Brightness | Correction of the overall scene brightness:
|
|---|---|
| Contrast | Correction of the overall scene contrast:
|
| Saturation | Correction of the overall scene saturation:
|
| Gamma | Correction of the overall scene gamma. |
| White | White balance of the scene. |
| LUT texture | The loading, viewing or clearing of the Lookup Table texture for color transformation. |
Color Correction LUT
Color Correction LUT (Lookup Texture) is an optimized way of performing color grading in a post effect. Instead of tweaking individual color grading parameters, only a single texture is used to produce the corrected image. The lookup will be performed by using the original image color as a vector that is used to address the lookup texture.
One of the most common applications of lookup tables is to use them to see how images will look in different media, such as TV/video or film, that have different color capabilities. Using a look-up table designed to mimic a certain display medium will give you a much better idea what your current work will look like after it’s transferred to that medium.
Advantages of using a Color correction LUT include:
- better performance - realtime computation is replaced by a simples array indexing operation.
- more professional workflow opportunities, where all color transforms can be defined using professional image editing software (such as Photoshop or GIMP) which provides a more precise result.
Lookup Texture Requirements
The 2D texture representation must be laid out in a way that it represents an unwrapped volume texture (as an image sequence of "depth slices").

Workflow Example
- First you have to generate a default lookup texture by clicking "+" button (Create a default LUT image) next to the LUT texture field and saving it as a TGA-file (by selecting it in the Type-field).
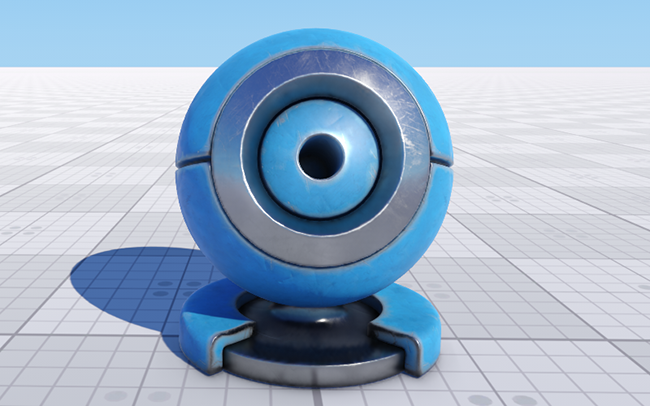
- Take a screenshot of your scene.
- Import your screenshot into a graphics editor (e.g., Photoshop or GIMP) and perform all necessary image correction operations (brightness, contrast etc.) to achieve the desired look.
- Import your generated default lookup texture into the graphics editor and perform the same operations as for the scene screenshot. Save the modified lookup texture as a new LUT.
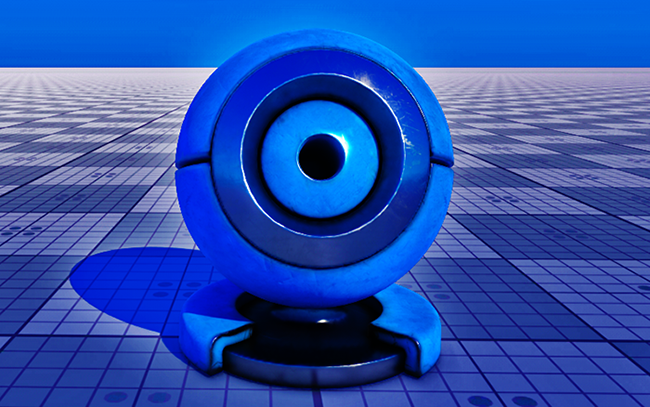
- On the Rendering settings → LUT texture tab select you new texture.
- Now your scene in UnigineEditor will look exactly as in the graphics editor!