LVC Game Add-On
The Calytrix LVC Game library enables communication between components of distributed simulation systems via the standard protocols: DIS, HLA, C2.
An LVC Game add-on is used for integration with this library allowing you to seamlessly connect UNIGINE 2 into a training environment.
Warning
The add-on is available only in the Sim Unigine SDK under Windows.
Launching LVC Game
To launch the add-on, you should perform the following:
- Install the LVC Game add-on (available via UNIGINE SDK Browser in the Add-Ons section).
- Go to the Projects tab of the SDK Browser and choose Other Actions -> Configure Project -> Add-ons.
- Move the LVC Game 1.0 add-on to the In Use area and click Ok.
- Put the LVCGame plugin .dll into <project_folder>/bin.
- Copy the config folder which you get from Calytrix into <project_folder>/bin.
- Copy the Calytrix license file (LVCGame.lic) into <project_folder>/bin/config.
- Open your license file (LVCGame.lic) in the text editor and get the application name.
For example:
Shell commands<attribute name="application">Unigine</attribute>The application name is Unigine.
- In the config folder there are several configuration files starting with "Game" by default (GameClient.config, lvc_to_Game.config). Replace "Game" with your application name. For example:
Lvc_to_Game.config -> Lvc_to_Unigine.config
Game_to_Lvc.config -> Unigine_to_Lvc.config
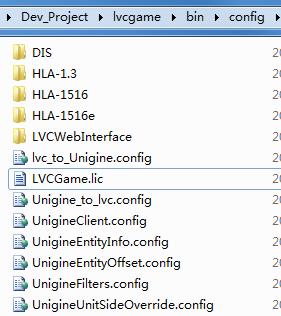 Renamed files
 -
If you want to run the project with the LVC Game addon, do the following:
- Open the application_name_to_lvc.config file, and write entity = 0 0 0 0 0 0 1.
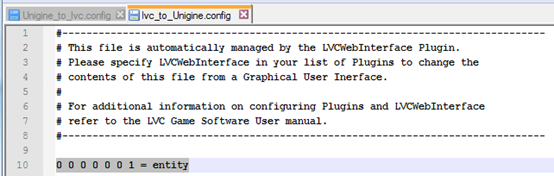
- Open the lvc_to_application_name.config file, and write 0 0 0 0 0 0 1 = entity.
NoticeYou can also define other entities in this file, please see the LVC Game software user manual for more details.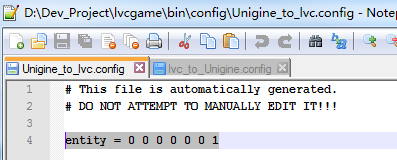
- Copy the LVC .dll files (LVCGameSDK.dll, LVCCore.dll, HLA-1.3dll, HLA1516.dll, HLA1516e.dll, LVCWebInterface.dll) to <project_folder>/bin.
- Click the additional field under the Run button. Choose Application -> Custom. The main_x64.exe will be set automatically. Specify the -extern_plugin LVCGame command line option in the Arguments field.
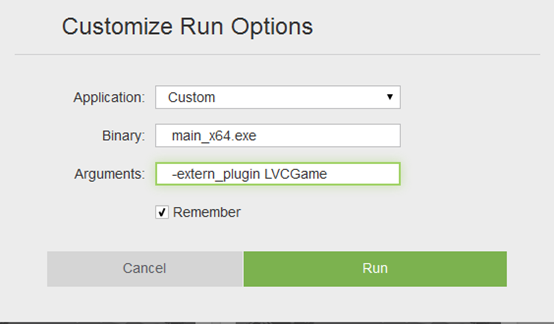
- Run the project by clicking Run.
If you couldn't run the project, the LVCGame.log file would be created in <project_folder>/bin.
Last update: 2017-07-03
Help improve this article
Was this article helpful?
(or select a word/phrase and press Ctrl+Enter)