GUI for Crosshair and Current Game Stats
In games and simulators, the HUD (Heads-Up Display) is used to showcase important information or graphical elements. Our project also requires a HUD, where we will display current game statistics and provide a crosshair to aid the player in shooting. To achieve this, we can obtain the current GUI (Graphical User Interface) and add the required widgets as children. For the crosshair in the center of the screen, we will use WidgetSprite, which enables us to display any image in the UI.
-
Create a HUD component and copy the following code into it:
HUD.h
Source code (C++)#pragma once #include <UnigineComponentSystem.h> #include <UnigineGui.h> class HUD : public Unigine::ComponentBase { public: COMPONENT_DEFINE(HUD, Unigine::ComponentBase); // crosshair parameters PROP_PARAM(File, crosshairImage, ""); PROP_PARAM(Int, crosshairSize, 16); // declare methods to be called at the corresponding stages of the execution sequence COMPONENT_INIT(init); COMPONENT_UPDATE(update); // link to the screen GUI Unigine::GuiPtr screenGui = nullptr; protected: Unigine::WidgetSpritePtr sprite = nullptr; Unigine::Math::ivec2 prev_size; // world main loop overrides void init(); void update(); };HUD.cpp
Source code (C++)#include "HUD.h" #include <UnigineGame.h> REGISTER_COMPONENT(HUD); using namespace Unigine; using namespace Math; void HUD::init() { // get the current screen GUI screenGui = Gui::getCurrent(); // add WidgetSprite for crosshair if (crosshairImage != "") sprite = WidgetSprite::create(screenGui, Unigine::FileSystem::guidToPath(FileSystem::getGUID(crosshairImage.getRaw()))); // set the sprite size sprite->setWidth(crosshairSize); sprite->setHeight(crosshairSize); // add the sprite to GUI so that it would always be in the center of the screen and overlap other widgets screenGui->addChild(sprite, Gui::ALIGN_CENTER | Gui::ALIGN_OVERLAP); // bind the widget lifetime to the world sprite->setLifetime(Widget::LIFETIME_WORLD); } void HUD::update() { ivec2 new_size = screenGui->getSize(); if (prev_size != new_size) { screenGui->removeChild(sprite); screenGui->addChild(sprite, Gui::ALIGN_CENTER | Gui::ALIGN_OVERLAP); } prev_size = new_size; }Save all the files that we modified and then build and run the application by hitting Ctrl + F5 to make the Component System update properties used to assign the components to nodes. Close the application after running it and switch to UnigineEditor.
-
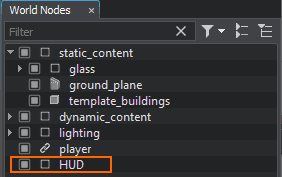
Create a NodeDummy, place it somewhere in the scene, name it HUD and add the HUD property to it.

-
Add the data/fps/hud/crosshair.png file to the Crosshair Image field.

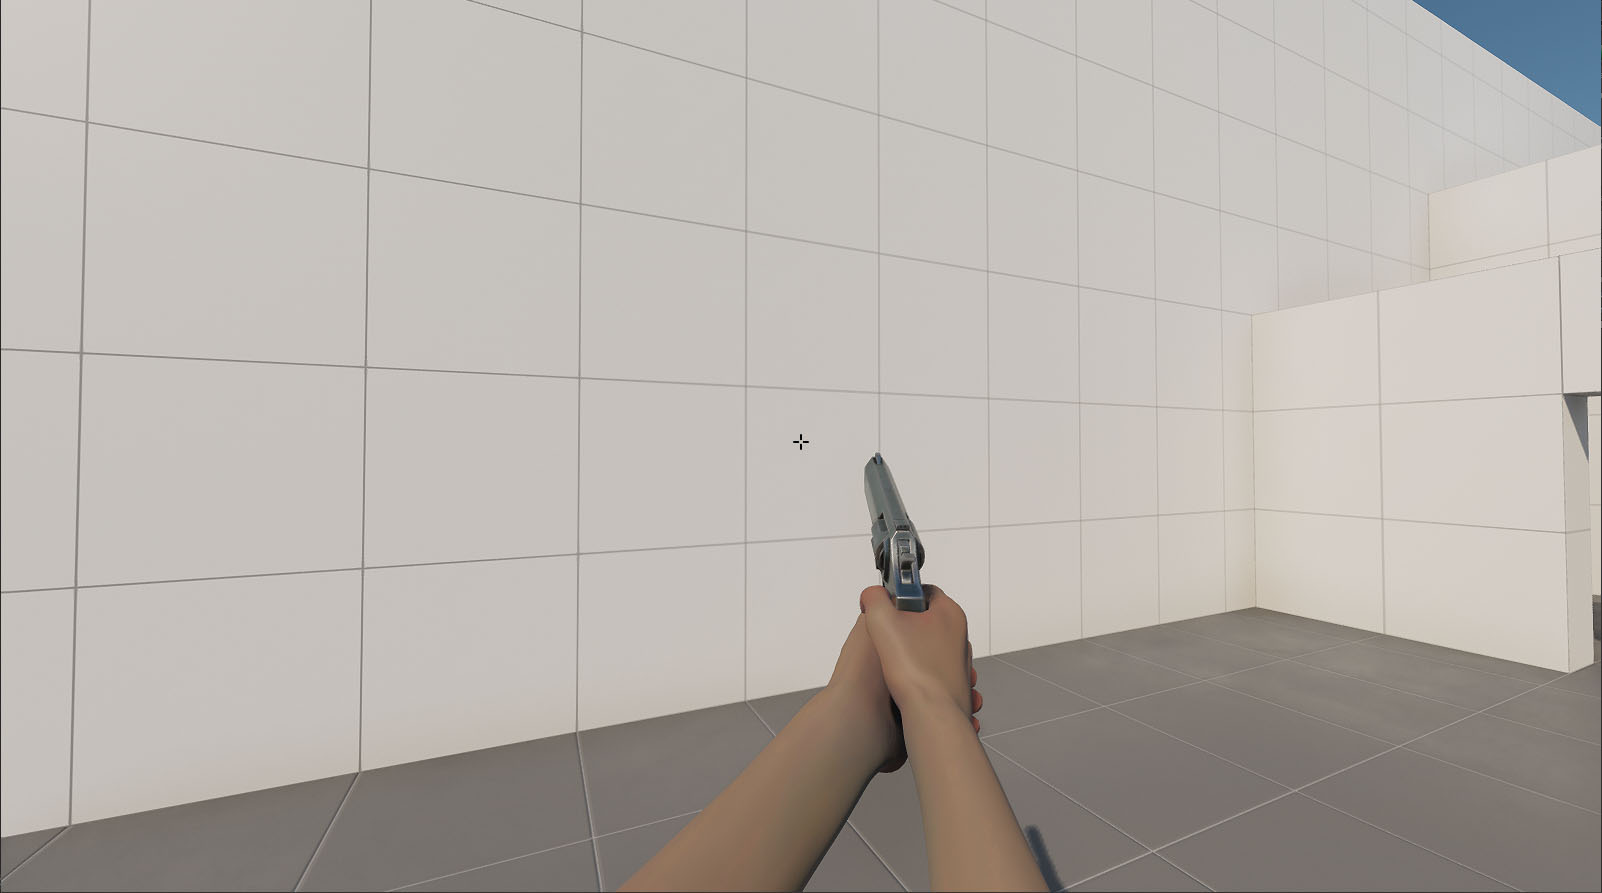
After compiling and running the application, you should get the following result:

The information on this page is valid for UNIGINE 2.20 SDK.