NVIDIA
The set of samples demonstrates how to interact with an external graphics API via Unigine API (ResourceExternalMemory and ResourceFence). Although the samples show interaction with NVIDIA CUDA Toolkit, you may use them as the basis for integrating the Engine GAPI (Vulkan, DX11, DX12) with other GAPI (OpenGL, DX, CUDA, etc.) that can accept the handle and import a synchronization primitive (such as external semaphore in CUDA).

This approach allows interaction of various APIs using different GAPI, such as interaction of MediaFoundation using DX11 with the Engine using DX12 or Vulkan.
The samples also illustrate how to take the data directly from the video memory without CPU roundtrip and processing it using non-engine graphics API.

The difference in GPU -> CPU texture transfer performance made via CUDA 12.3 and by the Engine are shown in the table below (tested on our working configurations). Average performance gain with CUDA comprised x10 to x24 depending on the viewport resolution.

You can check the results on your PC just by launching the CUDATextureTransfer sample and enabling the Profiler.
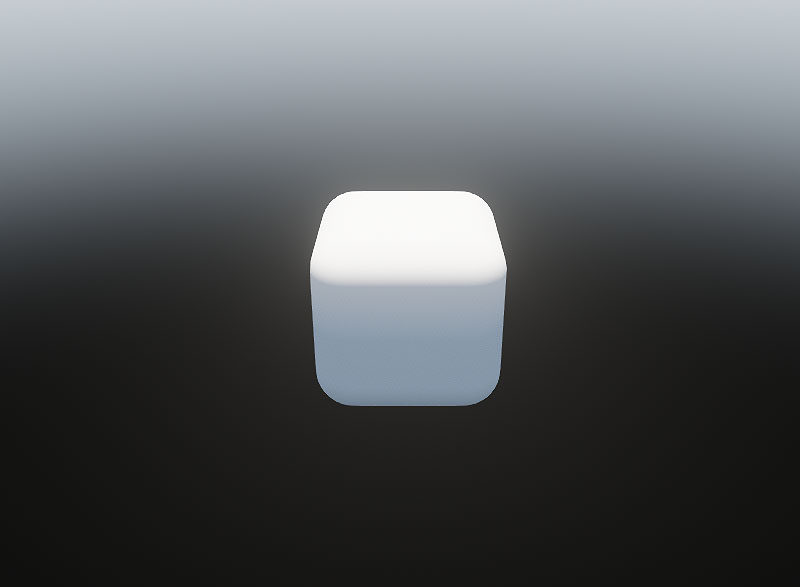
CUDAMeshDynamic#

Vertices of a shared dynamic mesh are processed on GPU using CUDA.
To build the sample, use CUDA Toolkit v12.3.
On Linux: after installing the CUDA Toolkit, make sure that the PATH environment variable includes /usr/local/cuda-12.2/bin.
SDK Path: <SDK_INSTALLATION>source\samples\3rdparty\CUDAMeshDynamic
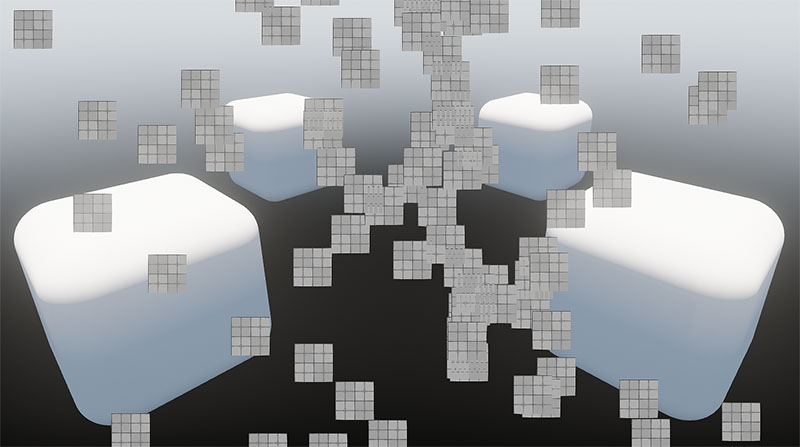
CUDAStructuredBufferWrite#

Particles in a shared structured buffer are updated on GPU using CUDA, and rasterized manually using Unigine Material with Compute Shader.
To build the sample, use CUDA Toolkit v12.3.
On Linux: after installing the CUDA Toolkit, make sure that the PATH environment variable includes /usr/local/cuda-12.2/bin.
SDK Path: <SDK_INSTALLATION>source\samples\3rdparty\StructuredBufferWrite
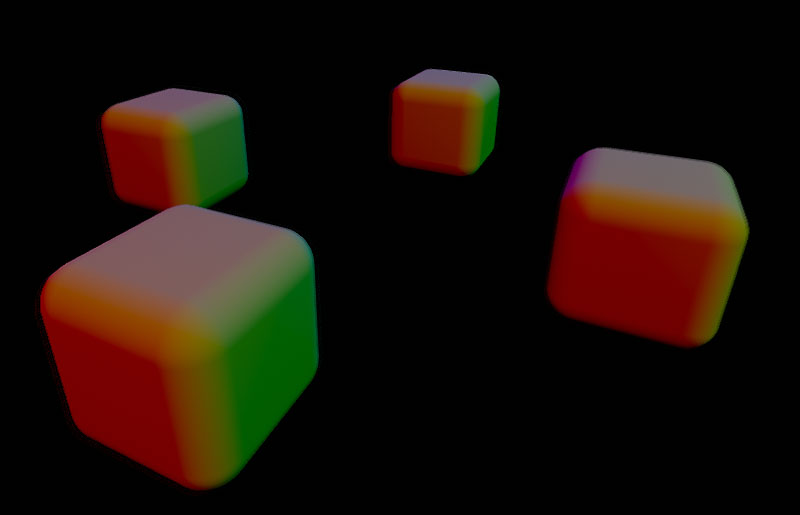
CUDATextureTransfer#

A shared texture is processed with CUDA and copied from video memory to RAM into Unigine Image.
To build the sample, use CUDA Toolkit v12.3.
On Linux: after installing the CUDA Toolkit, make sure that the PATH environment variable includes /usr/local/cuda-12.2/bin.
SDK Path: <SDK_INSTALLATION>source\samples\3rdparty\CUDATextureTransfer
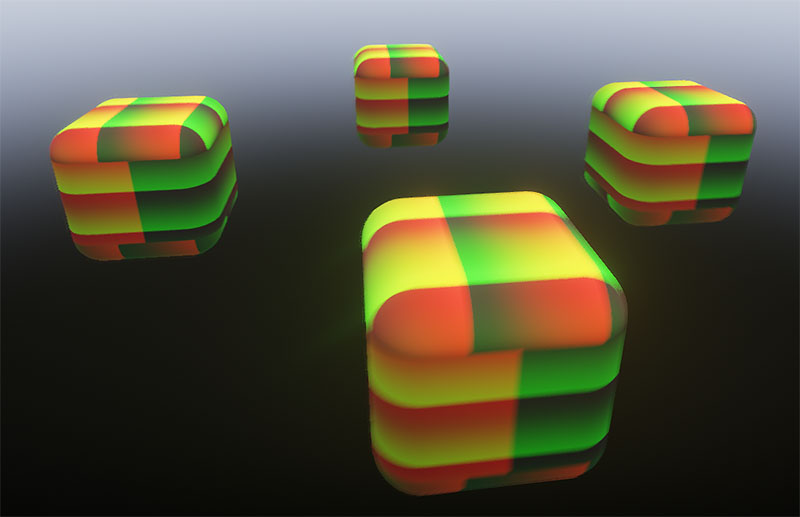
CUDATextureWrite#

A shared texture is processed with CUDA and displayed on the Unigine Object as a texture on a cube.
To build the sample, use CUDA Toolkit v12.3.
On Linux: after installing the CUDA Toolkit, make sure that the PATH environment variable includes /usr/local/cuda-12.2/bin.
SDK Path: <SDK_INSTALLATION>source\samples\3rdparty\CUDATextureWrite
The information on this page is valid for UNIGINE 2.19.1 SDK.