Customizing Menu
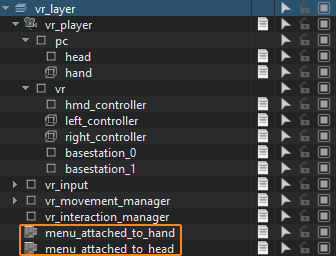
The VR template has two menu types: the main one is attached to the HMD position, and the second — to the hand. In the VR sample, the menu_attached_to_head node (ObjectGui) is used for the main menu, and the menu_attached_to_hand node (ObjectGui) is used for the additional menu.

All menu nodes have the same VRMenuSample.cs component assigned. It is inherited from the base VRBaseUI component that implements a user interface. In general, the user interface is implemented as follows:
- Inherit a new component from the base VRBaseUI.
- Implement the user interface with the required widgets in the overridden InitGui() method.
- Implement handlers for processing widgets events (pressing a button, selecting elements in the drop-down menu, etc.).
- Subscribe the corresponding widgets for the events in the InitGui() method.
- Assign the component to the ObjectGui node that will display the user interface.
Let's create a new menu for the left controller and add the quit button:
-
Inherit a new component from the base VRBaseUI, call it VRHandMenu and copy the following code to it:
Source code (C#)using System; using System.Collections; using System.Collections.Generic; using Unigine; [Component(PropertyGuid = "AUTOGENERATED_GUID")] // <-- this line is generated automatically for a new component public class VRHandMenu : VRBaseUI { // declare required widgets private WidgetSprite background; private WidgetVBox VBox; private WidgetButton quitButton; private WidgetWindow window; private WidgetButton okButton; private WidgetButton cancelButton; private WidgetHBox HBox; // overriden method that is called on interface initialization, // it adds the required widgets and subscribes to events protected override void InitGui() { if (gui == null) return; background= new WidgetSprite(gui, "core/textures/common/black.texture"); background.Color = new vec4(1.0f, 1.0f, 1.0f, 0.5f); gui.AddChild(background, Gui.ALIGN_BACKGROUND | Gui.ALIGN_EXPAND); // add a vertical column container WidgetVBox to GUI VBox = new WidgetVBox(); VBox.Width = gui.Width; VBox.Height = 100; gui.AddChild(VBox, Gui.ALIGN_OVERLAP|Gui.ALIGN_CENTER); // add the quit button to the container quitButton = new WidgetButton(gui, "QUIT APPLICATION"); quitButton.FontSize = 20; VBox.AddChild(quitButton); quitButton.EventClicked.Connect(ButtonQuitClicked); VBox.Arrange(); // create a quit confirmation window window = new WidgetWindow(gui, "Quit Application"); window.FontSize = 20; // add a horizontal row container WidgetHBox to the confirmation window HBox = new WidgetHBox(); HBox.Width = window.Width; HBox.Height = 100; window.AddChild(HBox); // add the 'OK' button and subscribe to the 'Clicked' event with the 'OkClicked' handler that will close the application okButton = new WidgetButton(gui, "OK"); okButton.FontSize = 20; HBox.AddChild(okButton); okButton.EventClicked.Connect(OkClicked); // add the 'Cancel' button and subscribe to the 'Clicked' event with the 'CancelClicked' handler that will close the confirmation window cancelButton = new WidgetButton(gui, "Cancel"); cancelButton.FontSize = 20; HBox.AddChild(cancelButton); cancelButton.EventClicked.Connect(CancelClicked); } // handler to be executed on clicking 'quitButton' private void ButtonQuitClicked() { gui.AddChild(window, Gui.ALIGN_OVERLAP | Gui.ALIGN_CENTER); } // handler to be executed on clicking 'cancelButton' private void CancelClicked() { gui.RemoveChild(window); } // handler to be executed on clicking 'okButton' private void OkClicked() { // quit the application Engine.Quit(); } } -
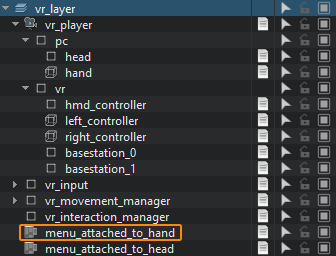
Then assign the VRHandMenu component to the menu_attached_to_hand node. And disable the VRMenuSample component which is assigned to this node by default.

-
Save changes (Ctrl+S) and press the Play button to run the application.
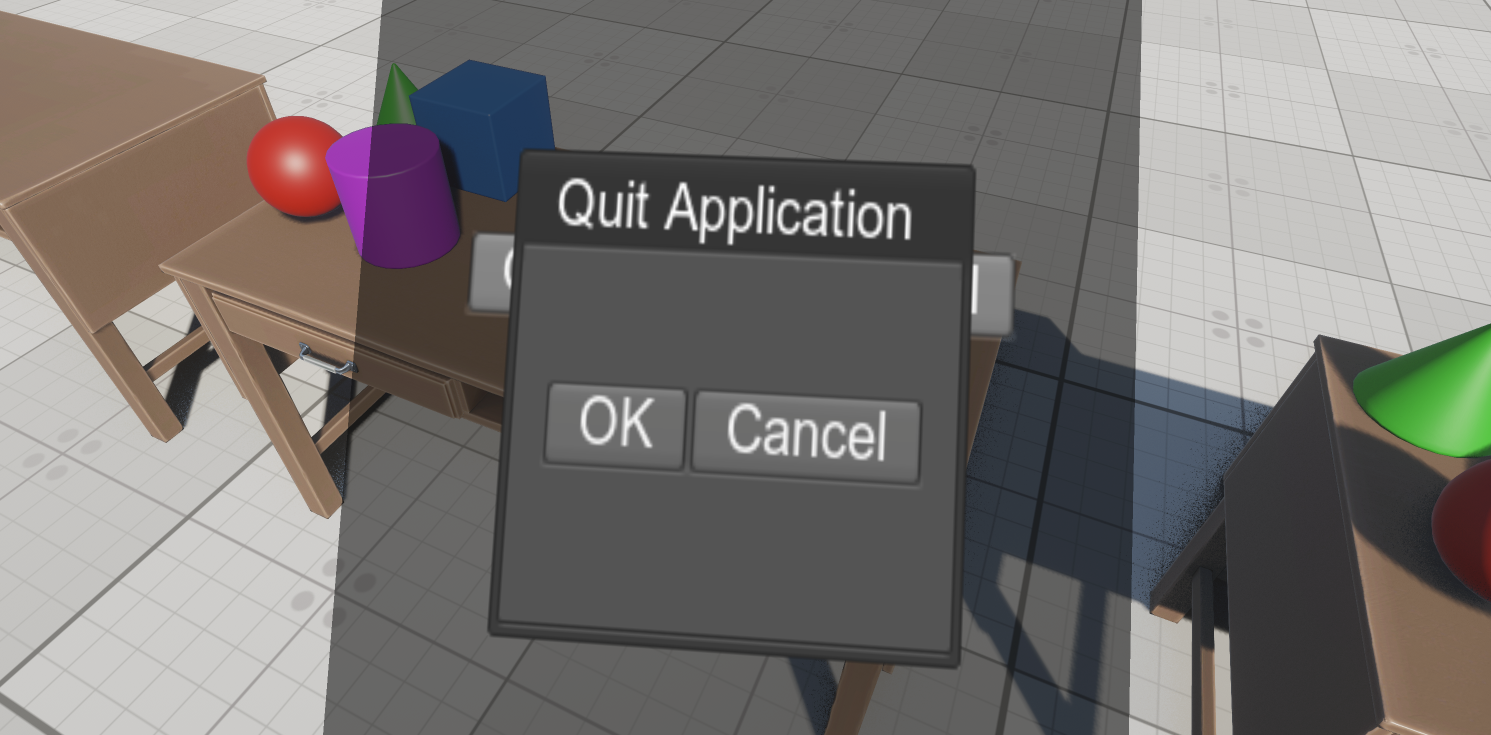
After launching the application, press the Menu button on the left controller — the result will look similar to this:

The information on this page is valid for UNIGINE 2.20 SDK.