Getting Started with UNIGINE
Getting Started#
The UNIGINE engine is designed to bring your ideas to life. Your activities mainly revolve around projects: you’ll be creating, customizing and updating them. Besides, you need to have on hand all the necessary templates, use cases, demo projects and all sorts of additional content.
Before you start working on a project, you need to download and install SDK Browser. This is the main tool for working with projects in UNIGINE, a kind of hub that gives you access to the UNIGINE world and optimizes all related processes.
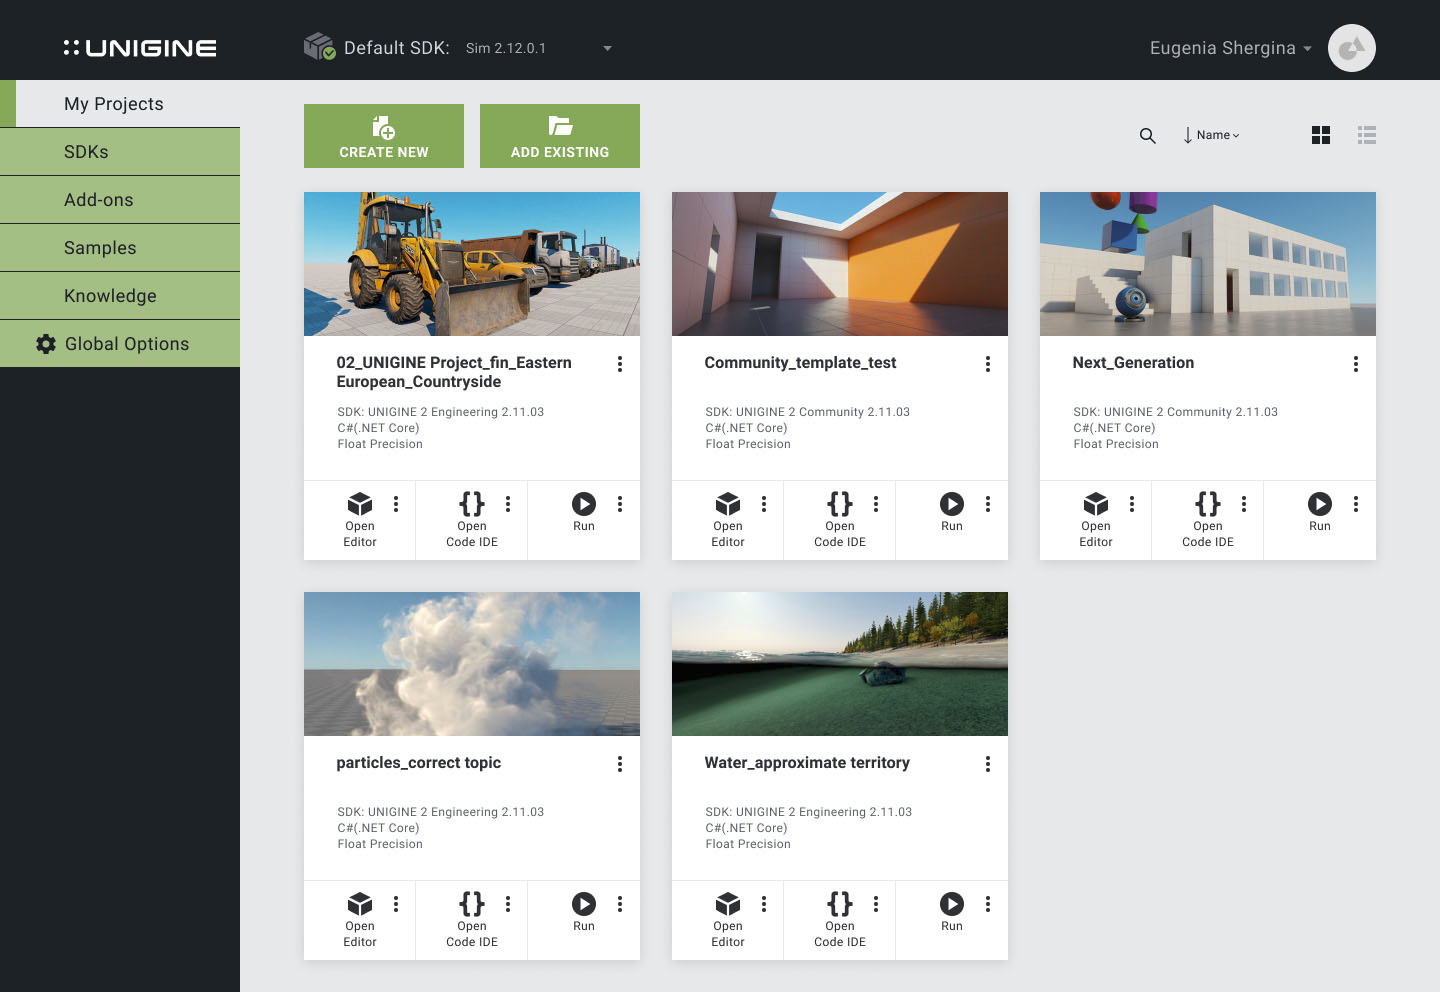
SDK Browser provides you with the following functionality:
- Easily download, install and update multiple UNIGINE SDKs.
- Quickly create and manage projects (including those based on ready-made templates) with customizable parameters (reconfiguring a project, adding assets or extensions, upgrading).
- View demo projects and copy them as templates for your own projects.
- Browse a large library of samples for artists and code samples for programmers (UnigineScript, C++ API, C# API, third-party software integration).
- Automatic updates via the Internet.
- Access to information resources (documentation, forum).
Downloading, installing, and creating a project#
The current version of Unigine SDK Browser for your operating system is available on the UNIGINE Developer Portal in the Downloads section. After downloading the browser, install it and then use it to install the required version of Unigine SDK to access all engine features. In simplified form, the algorithm looks like this:
- Download and install SDK Browser.
-
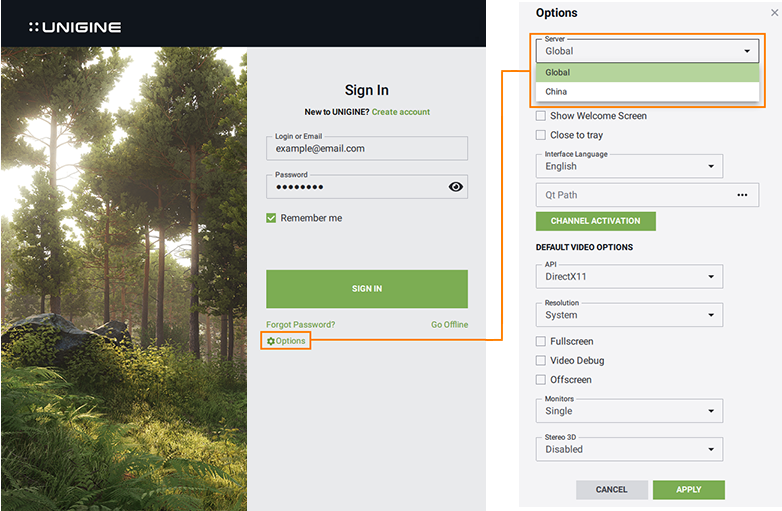
After installation, launch SDK Browser and authorize using the data received in the registration email. Then press SIGN IN.
-
Immediately after successful authorization, the latest available SDK version will start downloading automatically (in case no SDKs are installed). If necessary, you can add other SDK versions via the ADD SDK button on the SDKs tab.

-
Once the SDK is installed, it needs to be activated: click the activation button, select Floating in the window (recommended in most cases), and click ACTIVATE.

-
After successful activation, you can create projects. To do this, go to the My Projects tab and click CREATE NEW (a new project is created for the current SDK selected by default).

-
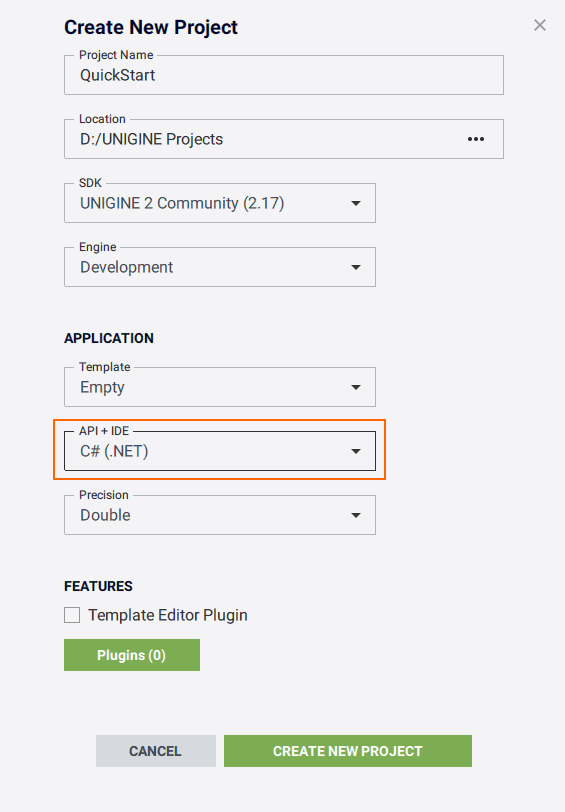
Then you will see the project settings window. In this window, specify the project name and select C# (.NET) API.
-
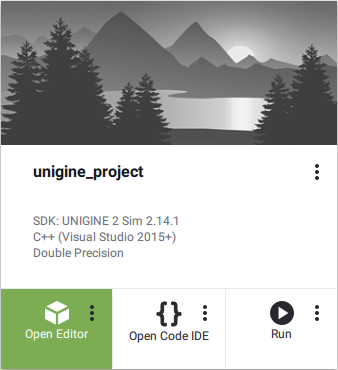
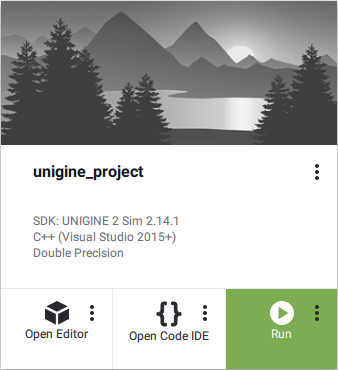
After successful project creation, you can work with content in UnigineEditor or launch the project itself. If you click on the three dots sign, additional launch options will appear where you can choose whether to launch debug or release version of the application and specify additional parameters.
The information on this page is valid for UNIGINE 2.20 SDK.