ПРОЕКТ1: ArchViz
Further in this section we are going to work with the project template (a pre-arranged interior ArchViz scene), review the ways of solving common problems, and gradually add new functionality to the project.Далее в этом разделе мы будем работать с заготовкой проекта (заранее подготовленной интерьерной ArchViz-сценой), знакомиться со способами решения часто встречающихся задач и постепенно добавлять в проект новый функционал.
The project is packaged and provided as an add-on, so we will need to download the add-on from the UNIGINE Add-On Store and add it to a new empty project. This should be done as follows:Заготовка проекта упакована и представлена в виде дополнения (add-on), поэтому нам нужно будет загрузить дополнение с UNIGINE Add-On Store и добавить его в новый пустой проект. Последовательность действий такова:
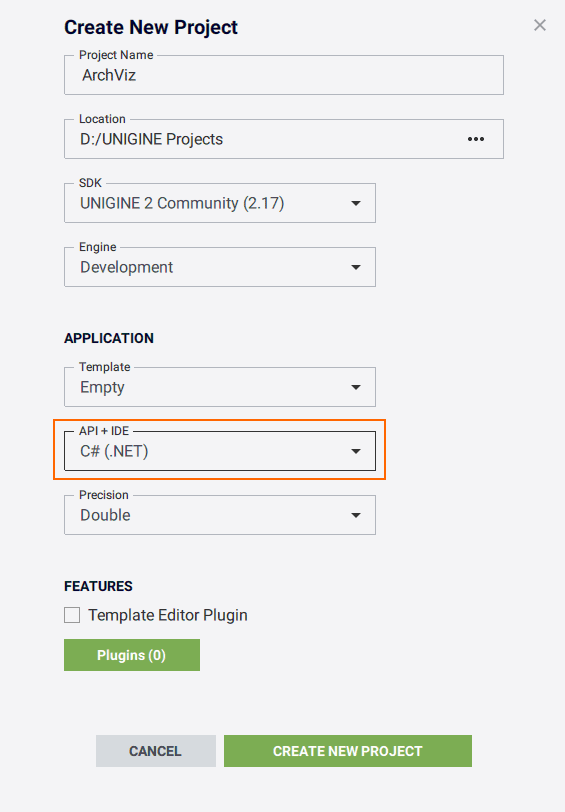
- Create a new empty C# project. Open the SDK Browser, go to the My Projects tab, and click the Create New button.Создайте новый пустой проект C#. Откройте SDK Browser, перейдите на вкладку My Projects и нажмите кнопку Create New.
-
In the window that opens, be sure to select C# (.NET) from the API + IDE list and click Create New Project.В открывшемся окне обязательно выберите C# (.NET) в списке API + IDE и нажмите Create New Project.

-
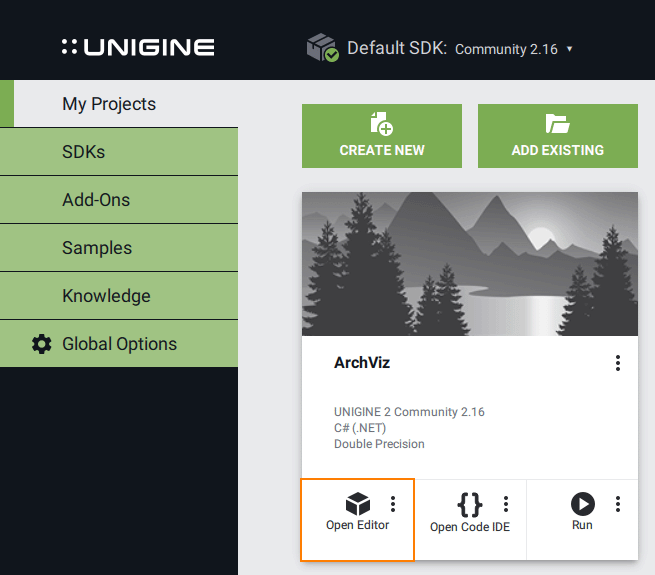
Once the new project is created, it will appear on the My Projects tab. Click Open Editor under the created project to open it in UnigineEditor.После создания нового проекта он появится на вкладке My Projects. Нажмите Open Editor под созданным проектом, чтобы открыть его в UnigineEditor.

- Go to store.unigine.com and log in using your username and password.Перейдите на store.unigine.com и авторизуйтесь с использованием своего логина и пароля.
-
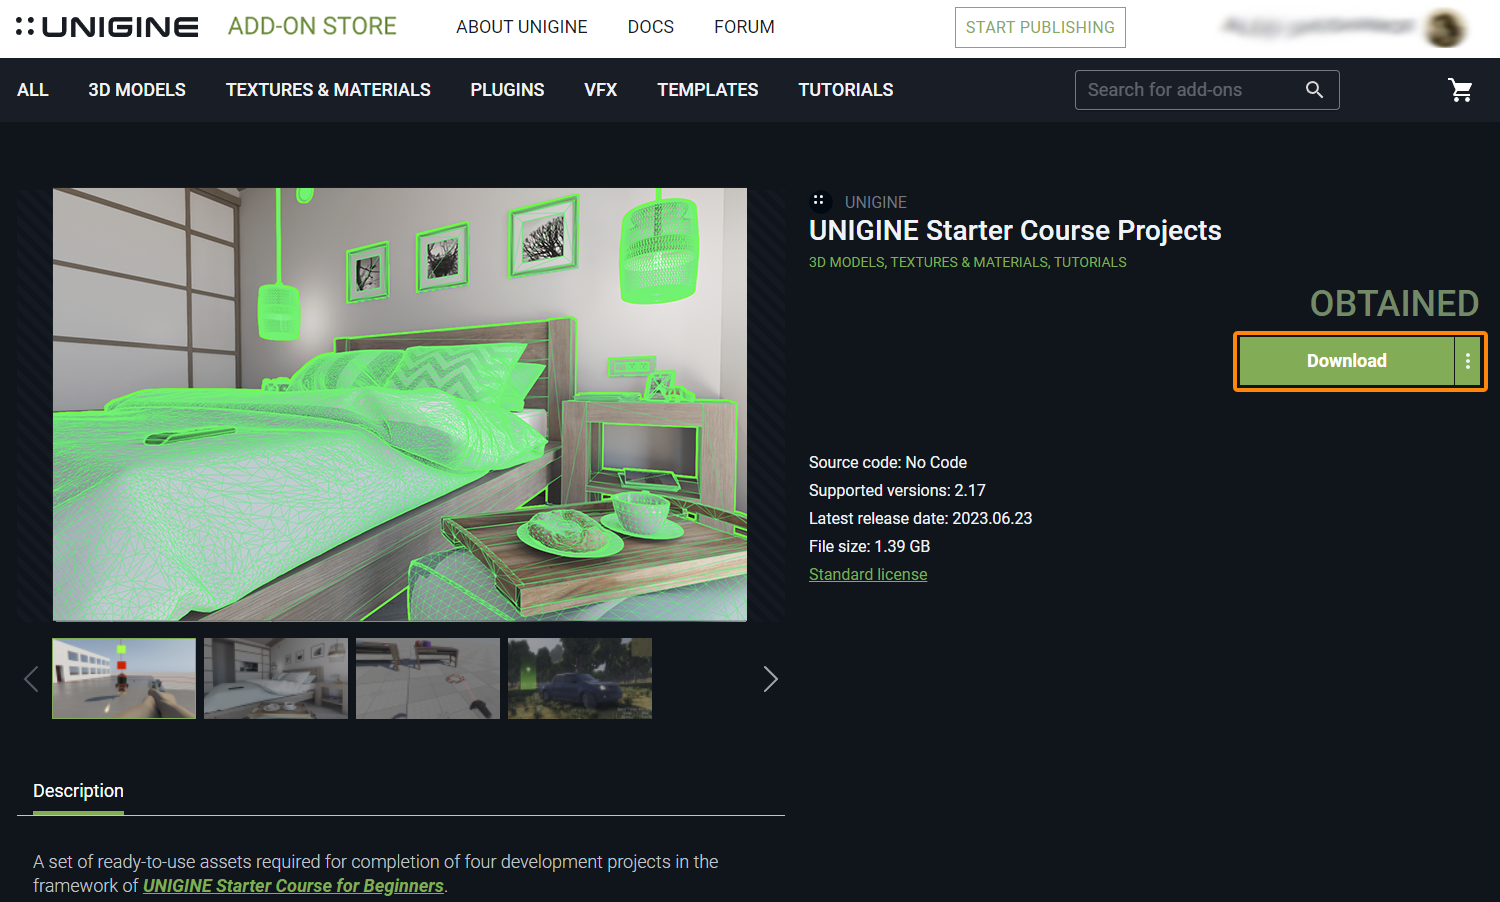
In the search box, type course projects, press Enter, and select the UNIGINE Starter Course Projects in the list of results.В поле поиска введите course projects, нажмите Enter и выберите в списке результатов дополнение UNIGINE Starter Course Projects.

-
Go to the add-on page and click Download.Перейдите на страницу дополнения и нажмите Download.

- After downloading, open the directory where the add-in file was downloaded.После скачивания откройте директорию, в которую был загружен файл дополнения.
- Drag the *.upackage file of your add-on into the data/ folder in the Asset Browser window.Перетащите *.upackage файл вашего дополнения в папку data/ прямо в окне Asset Browser.
- In the Package Manager window, select the data/archviz folder, click Import Package and wait for the import process to complete.В окне менеджера пакетов, выберите папку data/archviz, нажмите Import Package и дождитесь завершения процесса импорта.
Now all the required content is added to the project and we can start working.Теперь весь нужный нам контент добавлен в проект и можно начинать работать.
Информация, представленная на данной странице, актуальна для версии UNIGINE 2.20 SDK.
