Environment
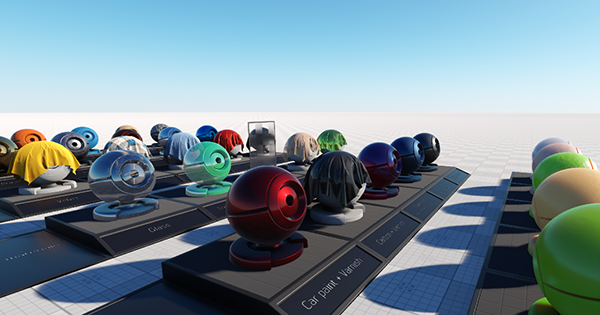
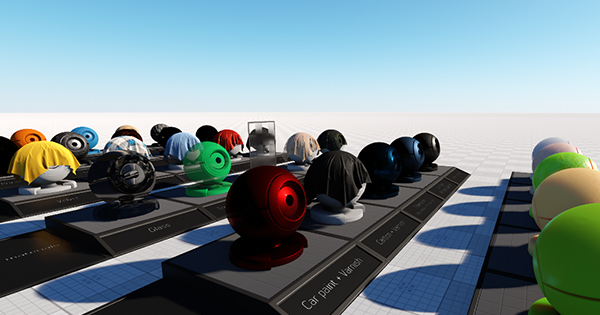
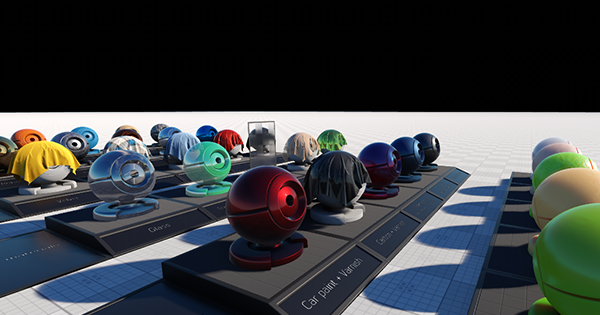
This section contains settings that control environment of the scene (scattering, haze, etc.). You can create some presets and smoothly combine them by specifying the intensity of the certain preset, thus producing new environments.
Environment Presets
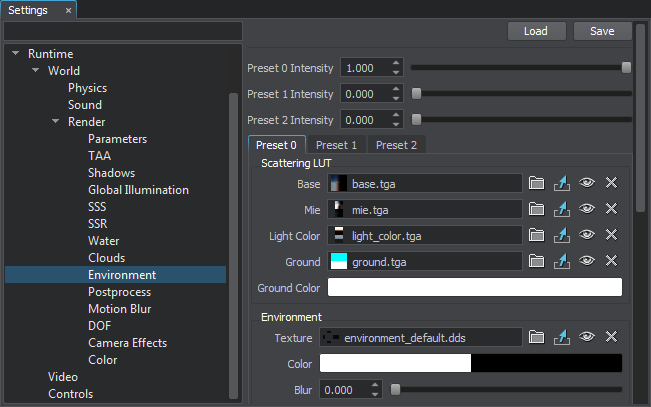
The environment cubemap is tweaked in the Rendering panel -> Environment tab. The scattering can have up to 3 separate settings presets that can be blended by the Preset intensity scroll bars.

Presets work as layers: the first preset will overlay the zero one, the second will overlay the first and the zero ones. For example, you can set the zero preset for the clean and clear sky, set the first preset for the cloudy sky and lerp them smoothly.
Scaterring LUT Settings
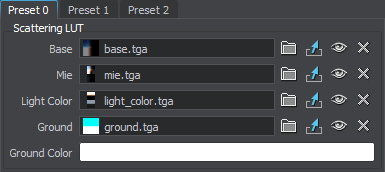
All the presets settings are identical. The scattering versatility is achieved mostly because of the scattering LUT textures.
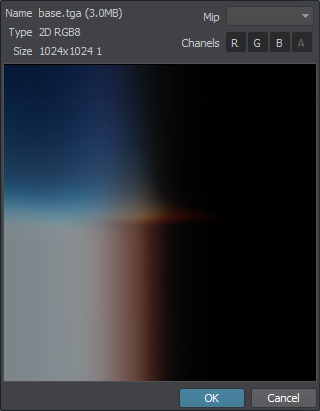
Base
A texture defining the base color of the sky. The texture means the following:
- Left to right: the position of the Sun above the surface (time of day).
- Top to down: the gradient of the Sun.
At the example below, when the Sun's angle is 90 degrees (right in the middle of gradient), the sky's top is blue, the horizon is yellow, the sky below the horizon is brown.
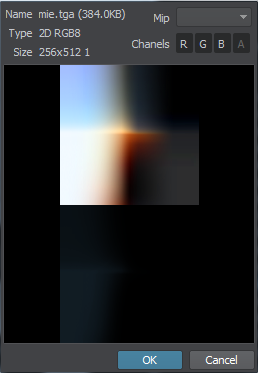
Mie
A texture (for both the Sun and the Moon) for setting the Mie light (the color of the light round the Sun).
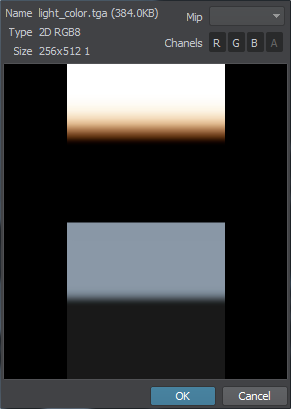
Light Color
A texture defining the color of the LightWorld for different times of day. The texture means the following:
- Top to down: the WorldLight's angle of slope.
Left to right texture direction doesn't matter, so you can use the texture 1×512 (width to height) pixels in size.
Ground
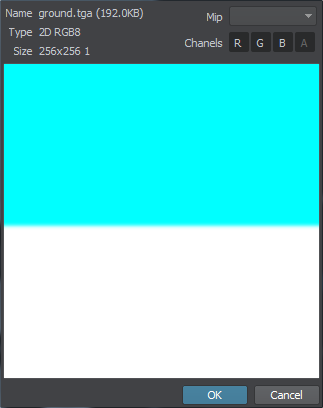
A one-channel mask imitating lighting and reflections from the landscape. It is required because lighting and reflections are generated based only on scattering, world objects influence is not calculated.
Ground Color
A color of the imitated landscape (for example, green for the forest, brown for the desert).
Environment Settings
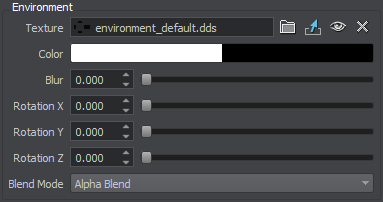
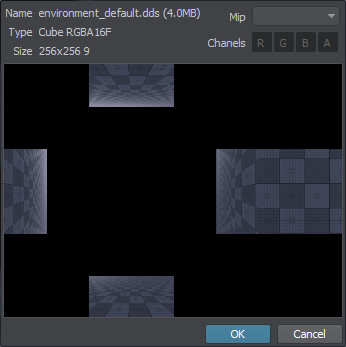
Environment settings are required for creating environment by means of panorama (cubemap). Besides, this texture is used for imitating landscape reflections and lighting in accordance with the ground mask.
Haze Settings
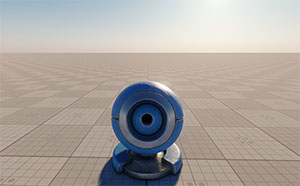
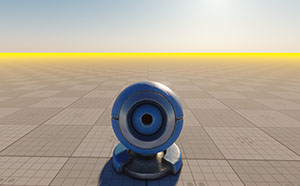
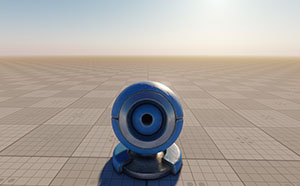
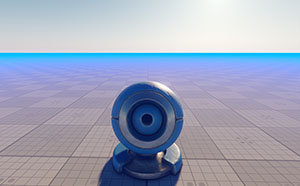
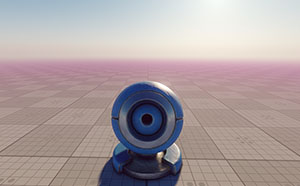
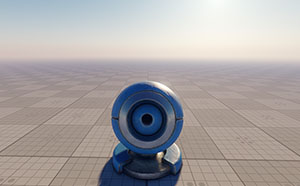
This group of parameters set the atmosphere haze. It automatically uses the color from the scattering LUTs, so objects smoothly fade into the distance without any artifacts.
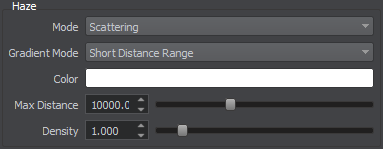
| Mode | Mode of haze rendering. The following values are available:
Notice
You can also use the render_environment_haze console command to specify the rendering mode for the haze. |
||
|---|---|---|---|
| Gradient Mode | Gradient mode of the haze. By using this option, you can make the haze look more realistic for a specific distance range. The following values are available:
Notice
You can also use the render_environment_haze_gradient console command to specify the gradient mode. |
||
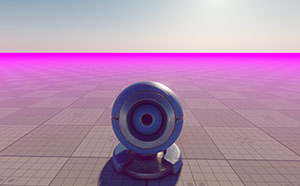
| Color | The color of the haze. This value can be specified for both the Solid and Scattering haze modes: in the first case, the color will be used as is, in the second case, the color will be blended with the color from the sky LUTs.
|
||
| Max distance | The distance starting at which the haze becomes completely solid, so nothing will be seen behind. For large terrains it is recommended to set this parameter equal to your camera's Far parameter. This is required for distant objects to fade into the distance instead of being cut sharply. | ||
| Density | The density of the haze. |
Intensity Settings

Celestial Bodies Settings
This group of parameters allows setting up the notable celestial bodies: the Sun and the Moon. By using these parameters, you can set the Sun and the Moon by using textures, adjust its intensity and color multipliers, specify the angular size of the celestial bodies. By default, values of the parameters are set for an observer on the Earth.
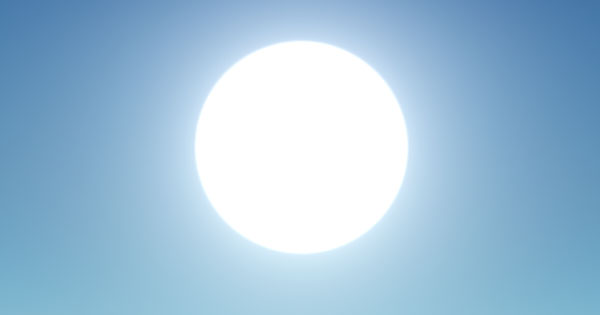
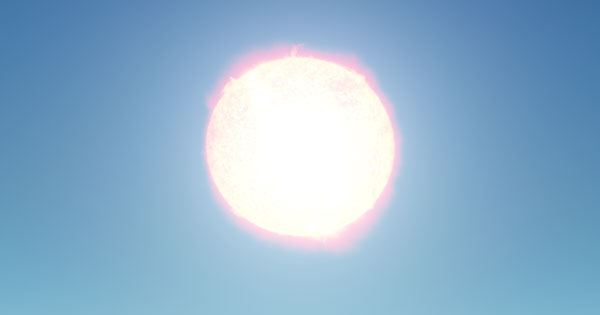
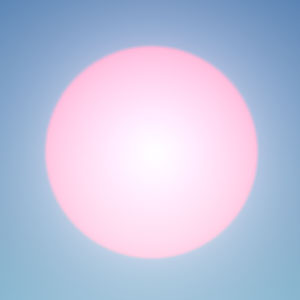
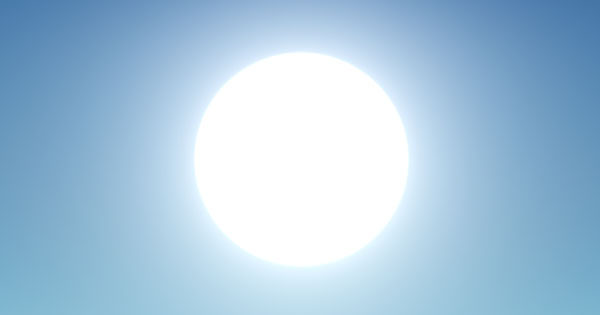
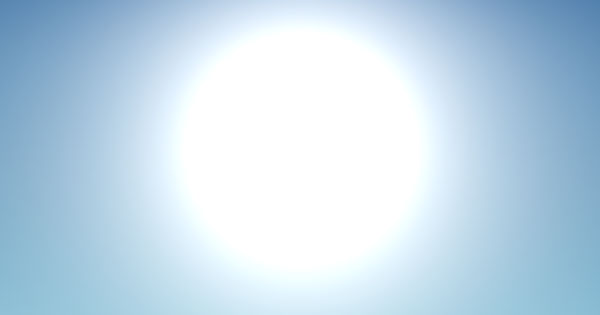
| Sun | A texture that sets the Sun in the sky. On the picture below, the Sun Size is increased to demonstrate how the textures are applied: | ||||
|---|---|---|---|---|---|
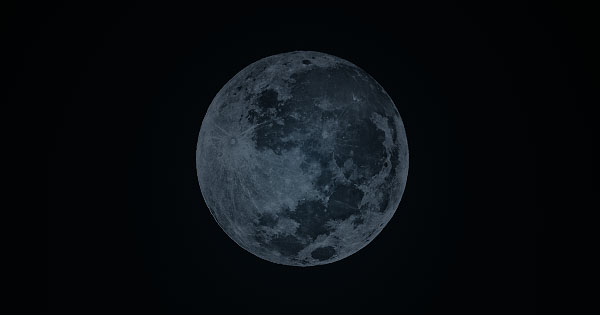
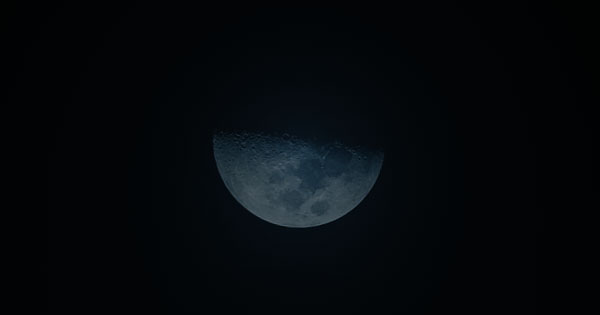
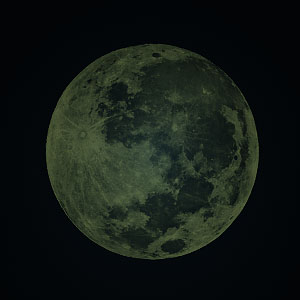
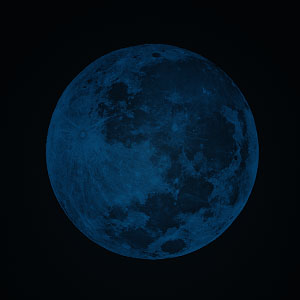
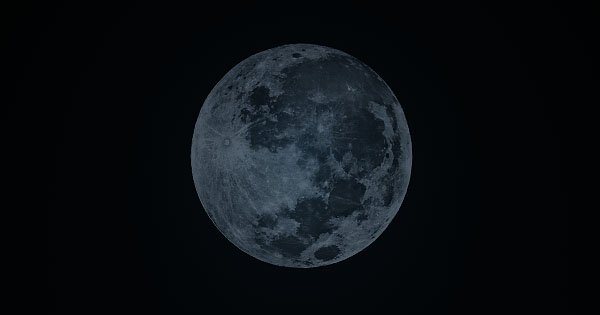
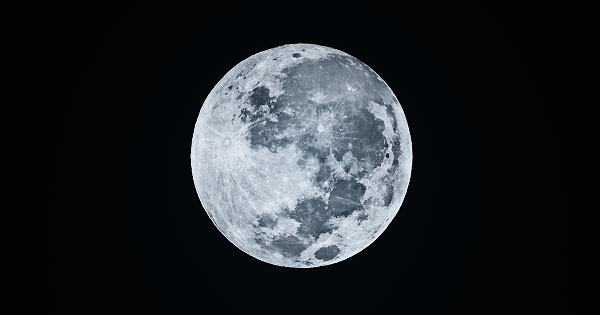
| Moon | A texture that sets the Moon in the sky. On the picture below, the Moon Size and the Moon Intensity are increased to demonstrate how the textures are applied: | ||||
| Sun Color | Color multiplier for the Sun texture in the RGBA format. By default, the color is white.
|
||||
| Moon Color | Color multiplier for the Moon texture in the RGBA format. By default, the color is white.
|
||||
| Sun Size | Angular size of the Sun in degrees. The value is set for an observer on the Earth. By default, the size of the Sun is 0.5 degrees as seen from the Earth. | ||||
| Moon Size | Angular size of the Moon in degrees. The value is set for an observer on the Earth. By default, the size of the Moon is 0.5 degrees as seen from the Earth. | ||||
| Sun Intensity | Intensity multiplier for the Sun texture. It allows increasing/reducing brightness of the Sun. | ||||
| Moon Intensity | Intensity multiplier for the Moon texture. It allows increasing/reducing brightness of the Moon. |
