Setting Up The Camera
Let's create a tracking camera with a third-person view. Go to Create → Camera → Persecutor and add the new nodes near the car.
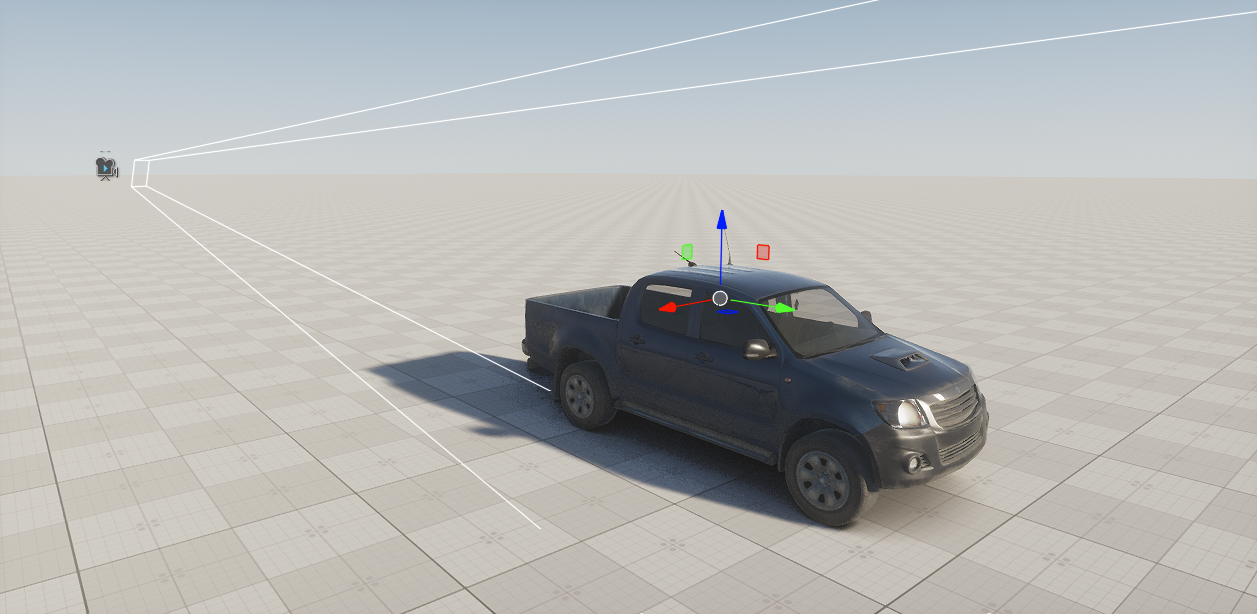
The two interconnected nodes are the PlayerPersecutor tracking camera and Persecutor_Target, which is the default target of the camera.
We need to track the car body, that's why we do the following:
-
Make the Persecutor_Target node a child of the pickup_frame node.
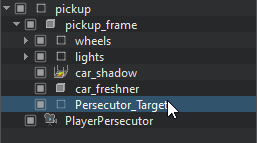
- Reset the position of the target relative to the body.
-
Move the target a little higher to have a nice overview of the car.
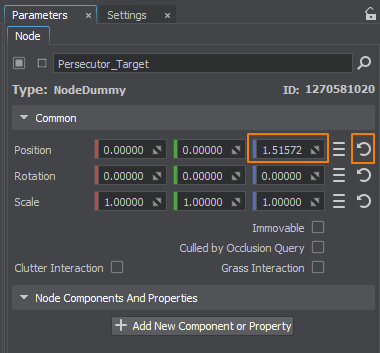
-
Switch the viewport to the view from the new camera.
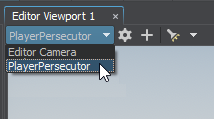
-
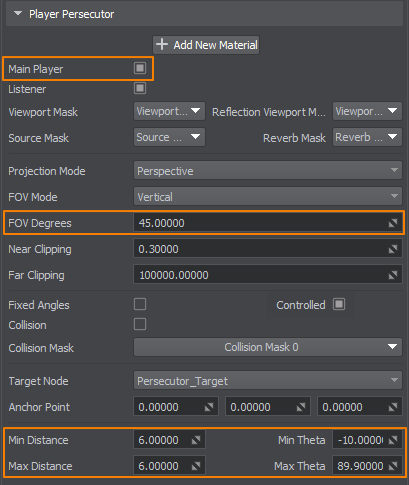
Configure the parameters according to your preferences. Pay attention to the following parameters:
- Main Player — make sure to switch it on, so that the camera is set by default when you launch the application.
- FOV Degrees — field of view that allows zooming the camera to choose the most artistic view.
- Min/Max Distance — the minimum and maximum distance from the camera to the target; by making them equal, we can lock the camera in orbit around the target.
- Min/Max Theta — the maximum and minimum tilt angle of the camera; by default it is able to move along the entire semiaxis.
Now, if we run the app, it will automatically set our tracking camera with a view of the standing car.
Left click in the application window to capture the cursor. This will allow us to inspect the car from all sides by moving the mouse. Press Esc to release the cursor.