Working with Texture Editor
Texture Editor allows painting textures of the materials applied to objects directly in the scene. It is mainly used for painting masks, but also helps editing the existing textures: adding details or fixing mistakes.
To start working with Texture Editor switch to the Texture Paint Mode on the toolbar:

The Active Tool window becomes available and provides access to the tools of Texture Editor:

Editing the Texture#
To edit a texture via Texture Editor, do the following:
- Select an object, a texture of which should be edited. In our case, that's the wall.
-
In the Texture field of Texture Editor, choose the wall_mask texture in the drop-down list (you can also click Create to create a new one).

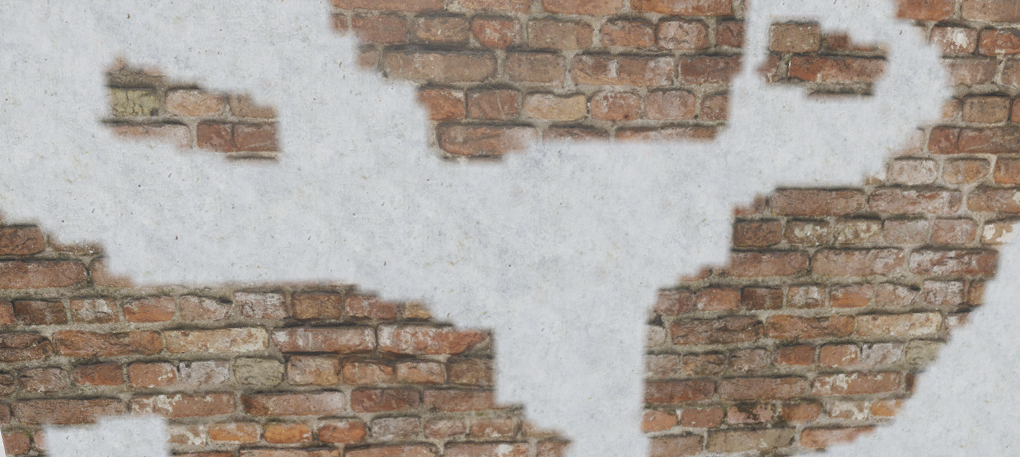
- Now we can paint directly on the object, using the available tools (the original asset will be changed as you paint). Select the Brush tool and paint areas on the object where there should be brick with white (and black will mark plastered areas).
After you finish editing, save your changes to the current texture (Save To Current Texture). If necessary, you can also save to a new one (you will need to specify its name and format).

While drawing, you can use the Ctrl+Z and Ctrl+Y key combinations to undo and redo the last action, respectively. You can reset all unsaved changes by selecting another object in the scene and discarding changes in the dialog window:

After saving the changes, return the switch on the toolbar back to Object Mode. You'll see the result.

The information on this page is valid for UNIGINE 2.19.1 SDK.