Assembling a First-Person Setup With Controls
To make a main character, we will need a controller node implementing basic player functionality (handling keyboard and mouse input, movement settings, etc.). Attached to this node, we will have a first-person view camera, hands with a gun, and a body imitation to check for collisions with other characters, bullets, and environment. Later we will assign logic components to the nodes to implement shooting, visual effects, etc. Let's start with the character controller.
For the character controller, we will use the template first-person controller. It is included in the default scene of a new C# project to simplify the programmer's task — find the Node Reference named first_person_controller in the hierarchy, it contains a Dummy Node with the FirstPersonController component assigned.
Let's rename it to player: enable editing of the Node Reference by clicking Edit and rename both nodes. Then select the Node Reference again and click Apply. This node will represent our character.
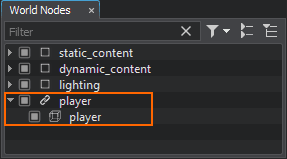
Arranging a First-Person Setup#
For a first-person setup you will need the hands and weapon models and animations previously created in a 3D modeling software. If you have your own assets, that's great, otherwise you can use our ready-to-use assets available in the data folder.
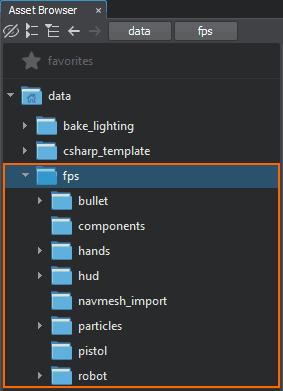
We'll start with adding hands, and then attaching a pistol to them. In Asset Browser, find the data/fps/hands/hands.fbx asset and add it to the scene.
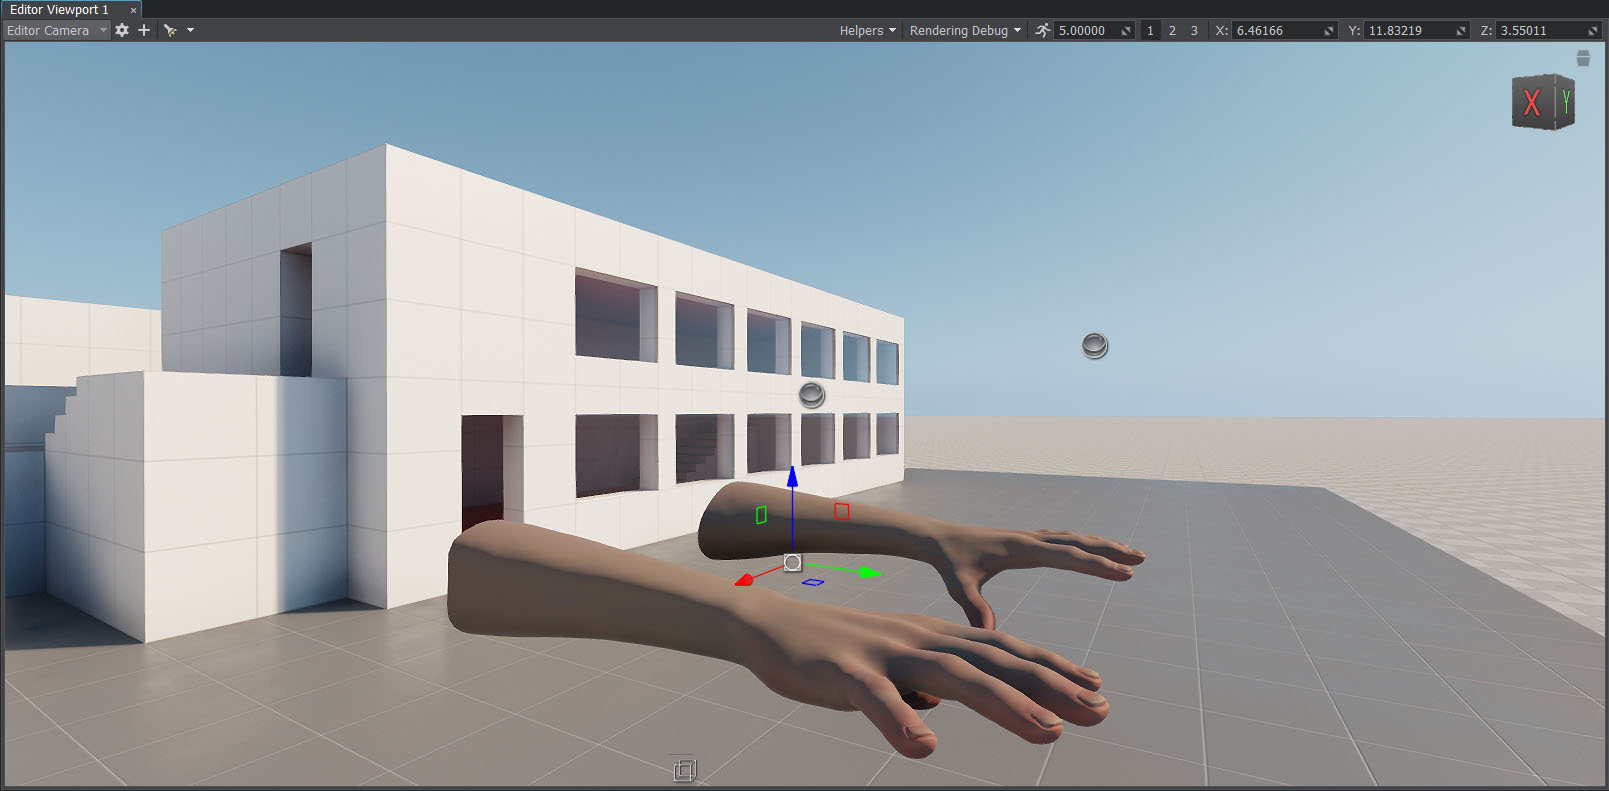
To simulate a player's body that takes damage when hit by enemy bullets, let's create an additional object (it will approximate the player's body with a box):
-
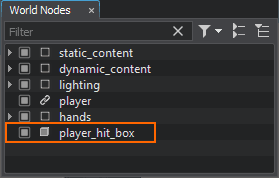
In the Menu bar, choose Create → Primitive → Box to create a box primitive of the size (1,1,2), add it to the scene and rename to player_hit_box.
-
Add it as a child to the hands Dummy Node and reset its position to the parent one. And for player_hit_box let's enable the Intersection option in the Surfaces section of the Parameters window.
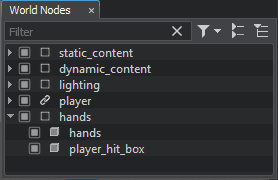
- Adjust the position of the player_hit_box so that it is placed immediately below the hands.
-
Make it invisible by clearing its Viewport mask in the Node tab of the Parameters window using the Clear All button. Also clear the Shadow mask to disable shadows rendering. You'll get something like this:
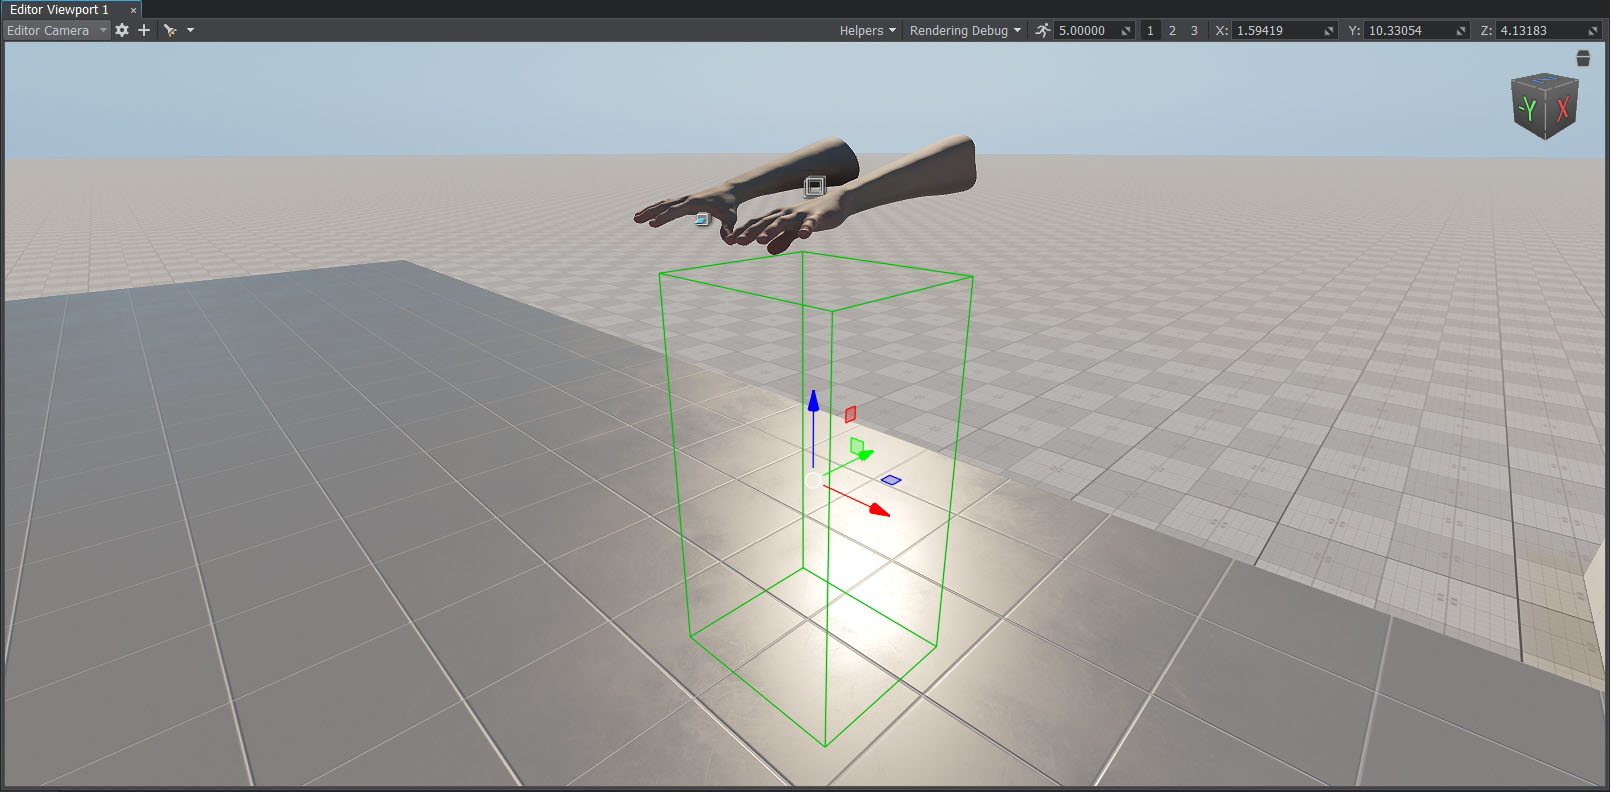
We'll assign the Health component to it later.
Adding a Camera#
By default, FirstPersonController creates the camera during application execution, and to be able to see through the eyes of the character in UnigineEditor, you can create a new camera (PlayerDummy) and instruct the controller to use it. This will simplify testing of the first-person setup.
-
Enable editing of the player Node Reference, then right-click the player Dummy Object and select Create → Camera → Dummy. It will make it easier to test the first-person setup.
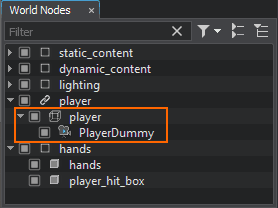
-
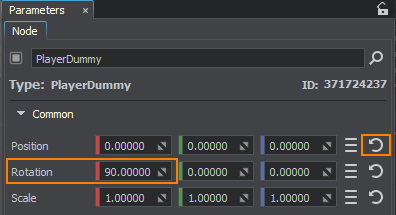
In the Node tab of the Parameters window, reset the position of the camera to the player position. Then adjust the rotation so that the camera is directed forward: set the rotation around the X axis to 90.
-
Add the hands Dummy Node as a child to the PlayerDummy node.
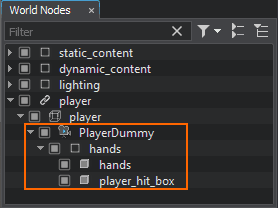
- Adjust the position of the hands so that you can see them through the PlayerDummy camera. Transformation of the player's body should also be adjusted.
- In the Parameters window, change Near Clipping and FOV Degrees values of the PlayerDummy node: it will help you to get the required camera view.
-
Check the Main Player box in the parameters of the PlayerDummy to make it the main camera.

- To avoid hands falling under gravity, adjust the position of the player Dummy Object's ShapeCapsule in the Physics tab of the Parameters window. It should almost coincide with the position of the player_hit_box node.
- Select the player Dummy Object and go to the Node tab of the Parameters window.
- In the Node Components and Properties section, choose Camera → Camera mode → USE EXTERNAL.
-
Drag and drop the PlayerDummy node to the Camera field.

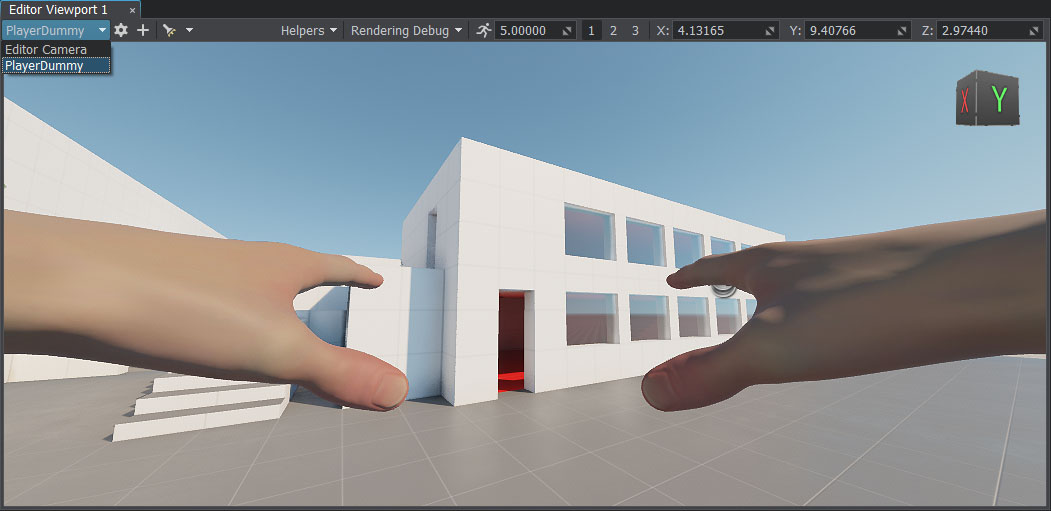
Now you can switch to the PlayerDummy camera in the Editor Viewport.
Attaching a Weapon to the Hands#
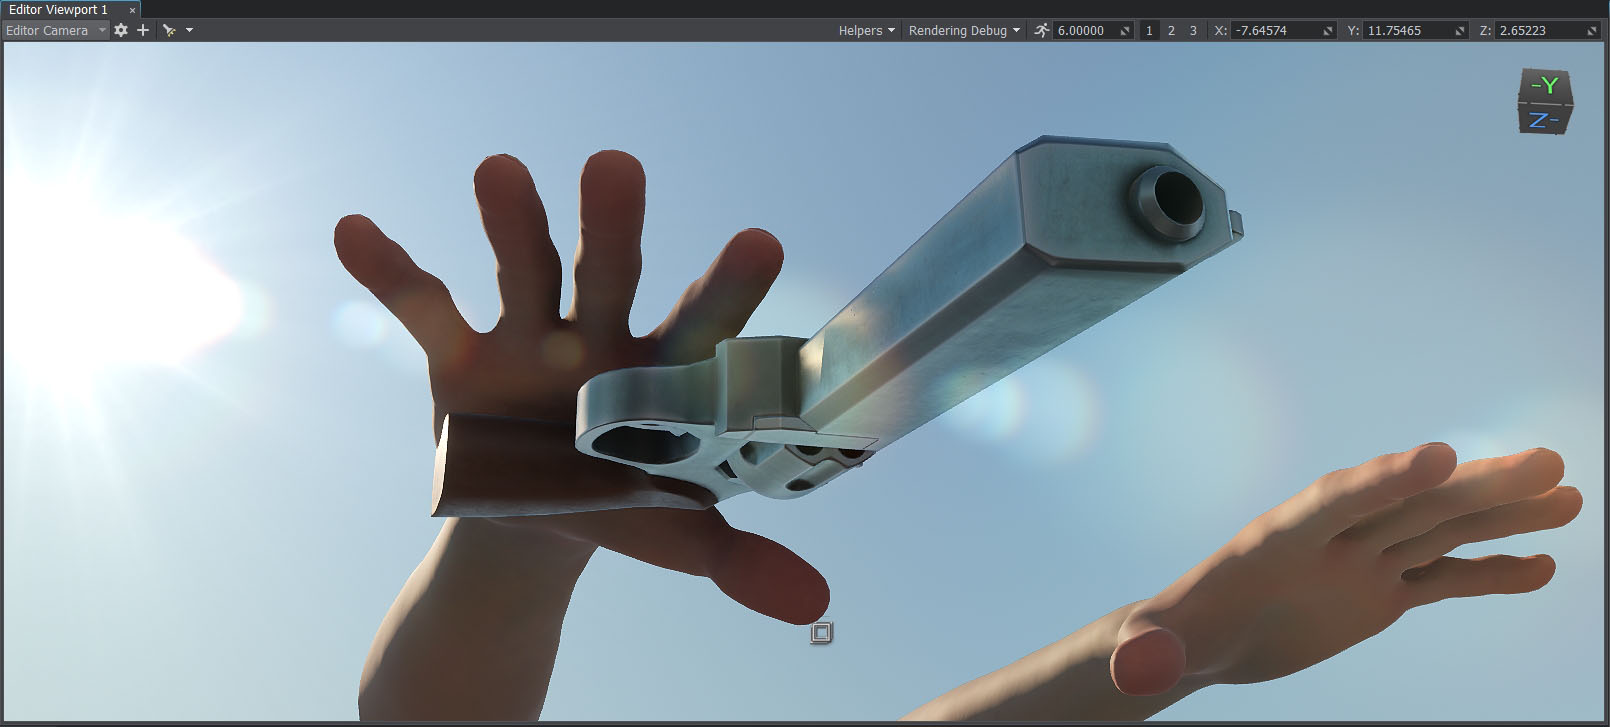
In UNIGINE, you should use the Skinned Mesh with bones for animated models. Our FBX model of hands contains several bones. We can attach the object to a particular bone to make it follow this bone. For this purpose, we use a WorldTransformBone node that has a controlled object (a pistol in our case) as a child, and the Skinned Mesh with bones as its parent.
- In the Asset Browser, find the data/fps/pistol/pistol.fbx asset and add it to the scene.
-
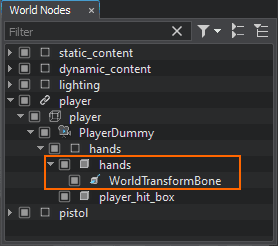
In the Menu bar, choose Create -> Mesh -> SkinnedBone: a WorldTransformBone node will be created. Add it as a child to the hands Skinned Mesh (the one that is inherited from the hands Dummy Node).
-
In the Bone drop-down list, select joint_hold. This will be the bone to which the pistol will be attached.

-
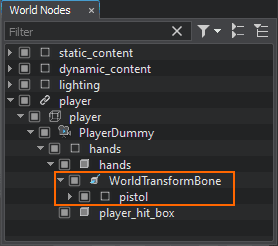
Make the pistol a child of the WorldTransformBone node. Reset its relative position and rotation to zero if needed.
Testing Animations#
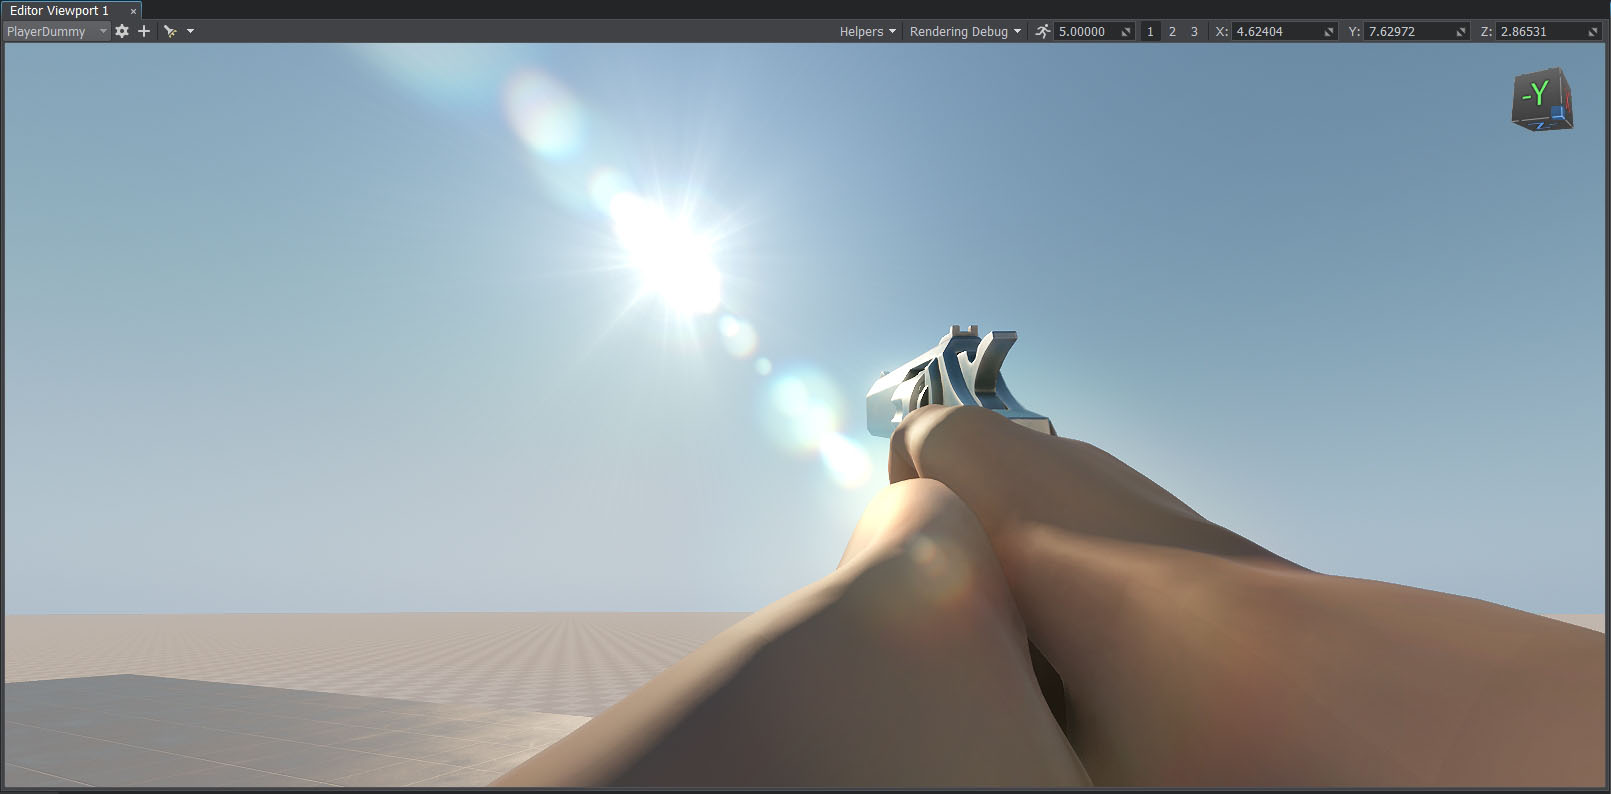
There is also a number of animations to be used for the hands (idle, walking, shooting). You can check how a certain animation looks like, for example:
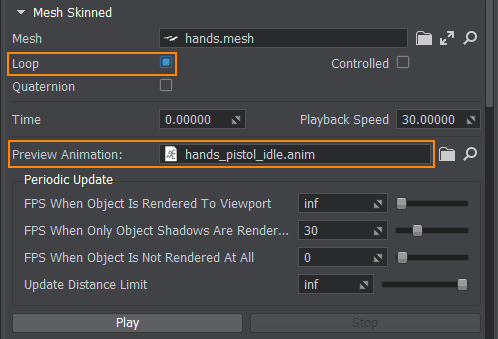
- In the Asset Browser, find the data/fps/hands/hands_animations/hands_pistol_idle.anim file and drag it to the Preview Animation section of the hands Skinned Mesh parameters.
-
Check the Loop option and click Play.
Blending Animations and Playing Them via Code#
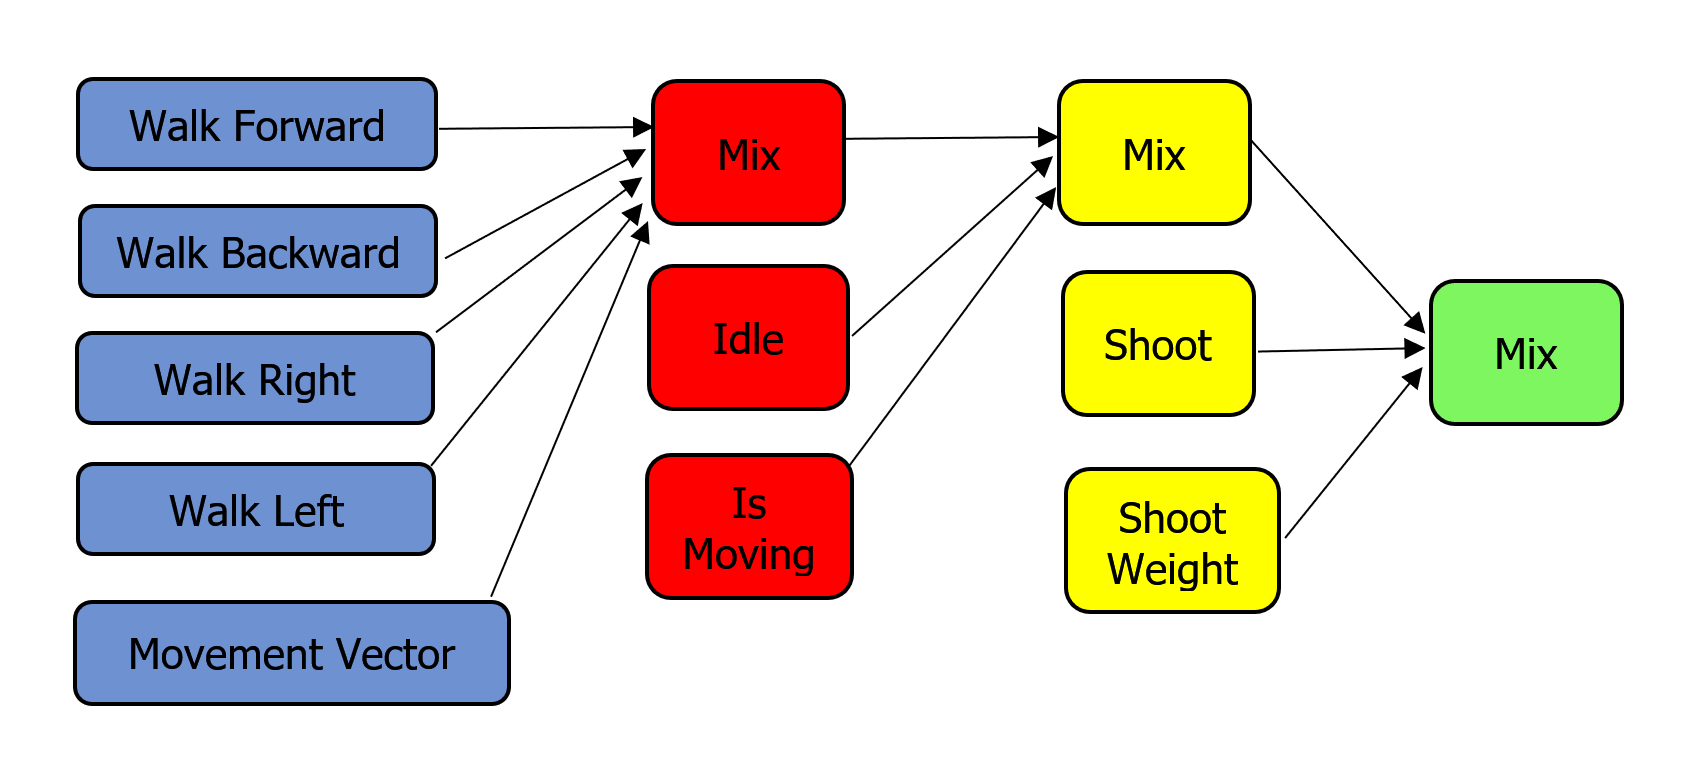
When the character changes its states (shooting, walking forward/backward/left/right), the corresponding animations should change smoothly. Let's implement a component for mixing our animations.
To ensure a seamless transition, we need to play two animations simultaneously and blend them. To do so, we will use multiple layers; we can assign different weights to each layer and achieve smooth blending.
The following scheme shows the blend tree we are going to use:
-
Create a new C# component named HandAnimationController.cs: in the Asset Browser, right-click and choose Create Code -> C# Component in the drop-down list. Copy and paste the following code to the created component:
HandAnimationController.cs
Source code (C#)using System; using System.Collections; using System.Collections.Generic; using Unigine; [Component(PropertyGuid = "AUTOGENERATED_GUID")] // <-- this line is generated automatically for a new component public class HandAnimationController : Component { // player's controller with first person view (FirstPersonController) public FirstPersonController fpsController = null; public float moveAnimationSpeed = 30.0f; public float shootAnimationSpeed = 30.0f; public float idleWalkMixDamping = 5.0f; public float walkDamping = 5.0f; public float shootDamping = 1.0f; // animation settings [ParameterFile(Filter = ".anim")] public string idleAnimation = null; [ParameterFile(Filter = ".anim")] public string moveForwardAnimation = null; [ParameterFile(Filter = ".anim")] public string moveBackwardAnimation = null; [ParameterFile(Filter = ".anim")] public string moveRightAnimation = null; [ParameterFile(Filter = ".anim")] public string moveLeftAnimation = null; [ParameterFile(Filter = ".anim")] public string shootAnimation = null; public vec2 LocalMovementVector { get { return new vec2( MathLib.Dot(fpsController.SlopeAxisY, fpsController.HorizontalVelocity), MathLib.Dot(fpsController.SlopeAxisX, fpsController.HorizontalVelocity) ); } set {} } private ObjectMeshSkinned meshSkinned = null; private float currentIdleWalkMix = 0.0f; // 0 idle animation, 1 walking animation private float currentShootMix = 0.0f; // 0 combination of idle/walking, 1 shooting animation private float currentWalkForward = 0.0f; private float currentWalkBackward = 0.0f; private float currentWalkRight = 0.0f; private float currentWalkLeft = 0.0f; private float currentWalkIdleMixFrame = 0.0f; private float currentShootFrame = 0.0f; private int numShootAnimationFrames = 0; // set the number of animation layers private const int numLayers = 6; private void Init() { // take the node to which the component is assigned // and cast it to ObjectMeshSkinned type meshSkinned = node as ObjectMeshSkinned; // set the number of animation layers for each object meshSkinned.NumLayers = numLayers; // set animation for each layer meshSkinned.SetLayerAnimationFilePath(0, idleAnimation); meshSkinned.SetLayerAnimationFilePath(1, moveForwardAnimation); meshSkinned.SetLayerAnimationFilePath(2, moveBackwardAnimation); meshSkinned.SetLayerAnimationFilePath(3, moveRightAnimation); meshSkinned.SetLayerAnimationFilePath(4, moveLeftAnimation); meshSkinned.SetLayerAnimationFilePath(5, shootAnimation); numShootAnimationFrames = meshSkinned.GetLayerNumFrames(5); // enable all animation layers for (int i = 0; i < numLayers; ++i) meshSkinned.SetLayerEnabled(i, true); } public void Shoot() { // enable shooting animation currentShootMix = 1.0f; // set the animation layer frame to 0 currentShootFrame = 0.0f; } private void Update() { vec2 movementVector = LocalMovementVector; // check whether the character is moving bool isMoving = movementVector.Length2 > MathLib.EPSILON; // input processing: checking if the 'fire' button is pressed bool isShooting = Input.IsMouseButtonDown(Input.MOUSE_BUTTON.LEFT); if (isShooting) Shoot(); // calculate target values for layer weights float targetIdleWalkMix = (isMoving) ? 1.0f : 0.0f; float targetWalkForward = (float) MathLib.Max(0.0f, movementVector.x); float targetWalkBackward = (float) MathLib.Max(0.0f, -movementVector.x); float targetWalkRight = (float) MathLib.Max(0.0f, movementVector.y); float targetWalkLeft = (float) MathLib.Max(0.0f, -movementVector.y); // apply current layer weights float idleWeight = 1.0f - currentIdleWalkMix; float walkMixWeight = currentIdleWalkMix; float shootWalkIdleMix = 1.0f - currentShootMix; meshSkinned.SetLayerWeight(0, shootWalkIdleMix * idleWeight); meshSkinned.SetLayerWeight(1, shootWalkIdleMix * walkMixWeight * currentWalkForward); meshSkinned.SetLayerWeight(2, shootWalkIdleMix * walkMixWeight * currentWalkBackward); meshSkinned.SetLayerWeight(3, shootWalkIdleMix * walkMixWeight * currentWalkRight); meshSkinned.SetLayerWeight(4, shootWalkIdleMix * walkMixWeight * currentWalkLeft); meshSkinned.SetLayerWeight(5, currentShootMix); // update animation frames: set the same frame for all layers to ensure synchronization meshSkinned.SetLayerFrame(0, currentWalkIdleMixFrame); meshSkinned.SetLayerFrame(1, currentWalkIdleMixFrame); meshSkinned.SetLayerFrame(2, currentWalkIdleMixFrame); meshSkinned.SetLayerFrame(3, currentWalkIdleMixFrame); meshSkinned.SetLayerFrame(4, currentWalkIdleMixFrame); // set the current frame for each animation layer to 0 to start playing again meshSkinned.SetLayerFrame(5, currentShootFrame); currentWalkIdleMixFrame += moveAnimationSpeed * Game.IFps; currentShootFrame = MathLib.Min(currentShootFrame + shootAnimationSpeed * Game.IFps, numShootAnimationFrames); // smoothly update current weight values currentIdleWalkMix = MathLib.Lerp(currentIdleWalkMix, targetIdleWalkMix, idleWalkMixDamping * Game.IFps); currentWalkForward = MathLib.Lerp(currentWalkForward, targetWalkForward, walkDamping * Game.IFps); currentWalkBackward = MathLib.Lerp(currentWalkBackward, targetWalkBackward, walkDamping * Game.IFps); currentWalkRight = MathLib.Lerp(currentWalkRight, targetWalkRight, walkDamping * Game.IFps); currentWalkLeft = MathLib.Lerp(currentWalkLeft, targetWalkLeft, walkDamping * Game.IFps); currentShootMix = MathLib.Lerp(currentShootMix, 0.0f, shootDamping * Game.IFps); } } - In UnigineEditor, assign this component to the hands Skinned Mesh.
- Remove data/fps/hands/hands_animations/hands_pistol_idle.anim from the Preview Animation field of the Mesh Skinned section.
-
Add animations stored in the data/fps/hands/hands_animations folder to the corresponding parameters.

-
Assign (drag and drop) the player Dummy Node to the Fps Controller field of the HandAnimationController component so that it could get required data from the player's first person controller to perform blending.

- Save all changes and run the application logic via the UnigineEditor to check the result.
The information on this page is valid for UNIGINE 2.19 SDK.