Mesh Decal
A Mesh Decal is a decal based on the arbitrary .mesh file and projected onto a surface by means of the orthographic projection.
The decals are always of the same size regardless of the projection box location relatively to the projection surface.
See Also
- The DecalMesh class to manage mesh decals via API
-
A set of samples located in the data/samples/decals/ directory:
- deferred_mesh_00
- deferred_mesh_01
- deferred_mesh_02
- deferred_mesh_03
- deferred_mesh_04
Mesh Requirements#
The mesh used for projection onto a decal comply with the following requirements:
-
The mesh shouldn't be two-sided or have any overlapping parts — this causes sorting artifacts. The mesh, however, may be curved in order to be applied to the sides of the object onto which it is projected by enabling the Screen Projection option.
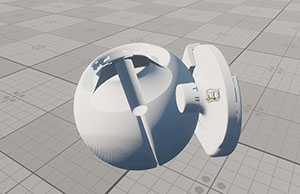
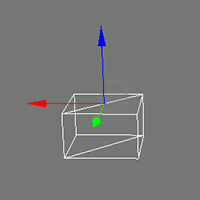
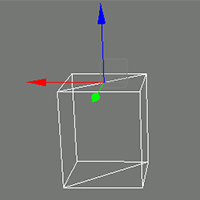
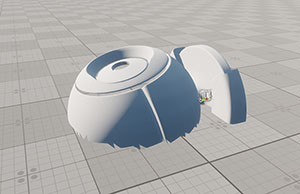 Mesh used for projection has overlapping parts of surface that cause artifactsAny unnecessary surfaces are cut off the mesh to have it projected correctly
 - The mesh triangles should be as close to regular as possible — don't use triangles with one side significantly less than the other two sides.
- A source mesh should have less than 10,000 polygons.
- The mesh that is used for projection should contain a single surface. If the mesh contains several surfaces, only the one with the 0 index will be used. Thus, the area of the decal will differ from the initial mesh.
Creating a Mesh Decal#
To create a Mesh Decal:
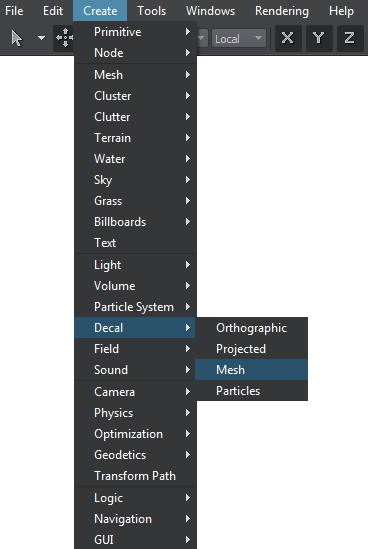
On the Menu bar, choose Create -> Decal -> Mesh.
In the file dialog window that opens, choose a mesh for the decal that is in line with the mesh requirements:
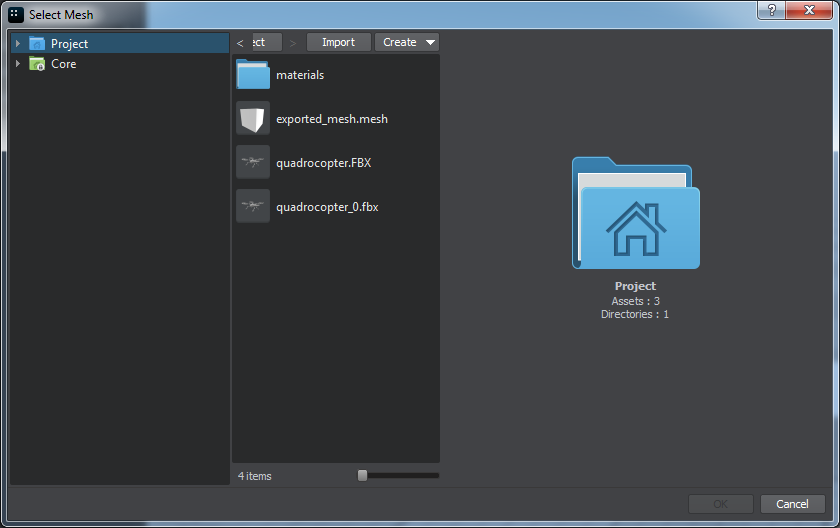
Press the OK button and place the decal somewhere in the world (for the decal to be projected, the mesh should intersect the surface).

Editing a Mesh Decal#
In the Node tab of the Parameters window, you can adjust the following parameters of the Mesh Decal:
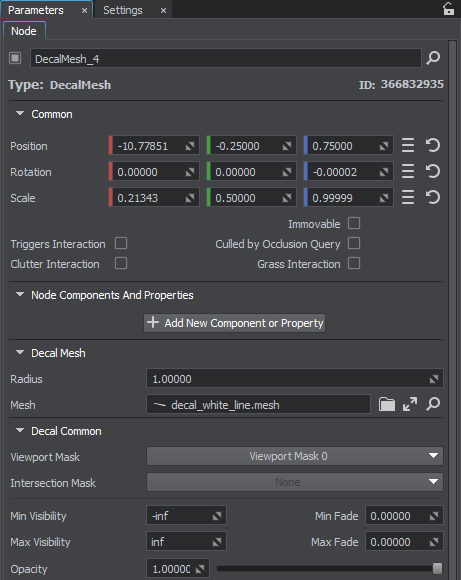
Decal Mesh#
Projection parameters of the Mesh Decal:
| Radius | The height of the projection box along the Z axis, in units.
|
||||
|---|---|---|---|---|---|
| Mesh | Path to the .mesh file on which the decal is based. |
Decal Common#
Parameters common for all types of decals:
Bit Masks#
| Viewport Mask | A Viewport mask, specifying if the decal can be seen in the camera's viewport. |
|---|---|
| Intersection Mask | The decal's Intersection mask is used paired with the cutout intersection mask of clutters and grass to cut out the clutter or grass in the areas of intersection with the decal (e.g. can be used to remove grass from the surface of a road projected using decal). |
Visibility Parameters#
Parameters controlling decal's visibility:
| Min Visibility | A minimum visibility distance, starting at which the decal begins to fade in and then becomes completely visible, in units. |
|---|---|
| Min Fade | A minimum fade-in distance, across which the decal smoothly becomes visible due to the alpha fading. It is counted starting from the minimum visibility distance value, in units. |
| Max Visibility | A maximum visibility distance, starting at which the decal begins to fade out until becomes completely invisible, in units. |
| Max Fade | A maximum fade-out distance, across which the decal smoothly becomes invisible due to the alpha fading. It is counted starting from the maximum visibility distance value, in units. |
| Opacity | Opacity of the decal. This parameter enables you to control whether the decal should be semi-transparent or fully opaque (by the value of 1). |
Setting a Material#
The material selection:
| Material | A new material for the decal. |
|---|